I grew up in a Midwest house where “crispy” usually meant “deep-fried.” When I traded my deep fryer for an air fryer, I assumed I could just toss in my old oven recipes and call it a day. Reader, I was humbled. Things cooked faster than I expected, edges browned before centers warmed, and my early batch of “baked” chicken tenders came out… aggressively beige.
The good news: converting oven recipes to the air fryer is simple once you know a couple of reliable rules and a few sneaky exceptions. This guide will help you adapt almost anything you normally bake so it comes out golden, crunchy, and weeknight-easy.
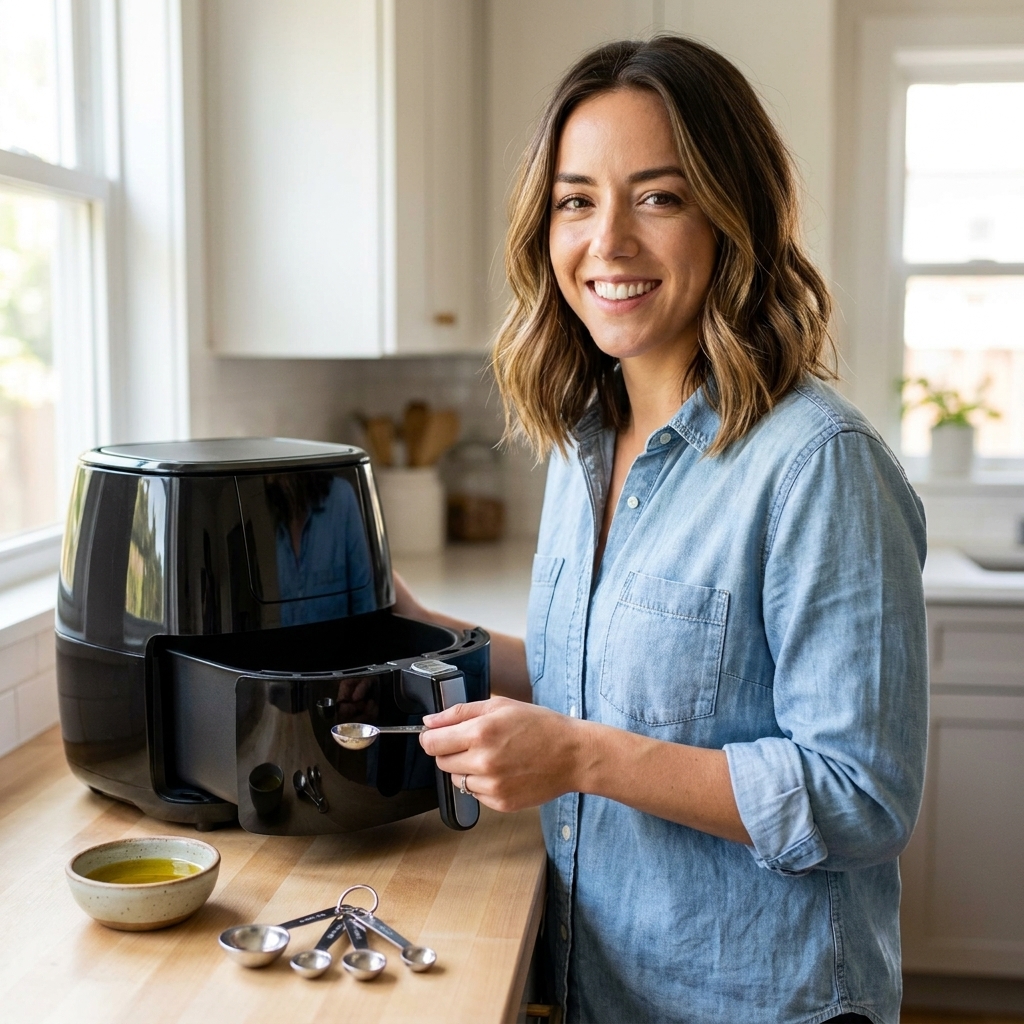
The core conversion formula
If you only remember two things, make it these. They will get you in the right ballpark for many oven-to-air-fryer swaps, but your exact results will still depend on fan strength, basket depth, and how full you load the basket.
1) Lower the temperature
- Start by reducing oven temp by 25°F (about 15°C).
- If the original recipe runs hot (425°F to 450°F), I still start with minus 25°F, but I check earlier because browning can happen fast.
2) Shorten the time
- Start checking at 70 percent of the oven time.
- If you need a simpler rule: reduce time by 20 to 30 percent, then adjust from there.
Example: If a recipe bakes at 400°F for 20 minutes, try 375°F and start checking around 14 minutes.
Chloe’s reality check: Air fryer models vary a lot. Your first test batch is your “calibration run.” Write down what worked for your machine and you will never guess again.
Quick conversion cheat sheet
Use this as your starting point, then rely on doneness cues (more on those below).
| Oven setting | Air fryer temp | When to start checking |
|---|---|---|
| 350°F | 325°F | At 70% of bake time |
| 375°F | 350°F | At 70% of bake time |
| 400°F | 375°F | At 70% of bake time |
| 425°F | 400°F | At 65 to 70% of bake time |
| 450°F | 425°F | At 60 to 65% of bake time |
If your air fryer tends to run hot (many do), drop another 10°F to 15°F or plan to flip or shake more often to prevent “one-side tan.”
What changes in an air fryer
Air fryers are basically small convection ovens with intense, close-range airflow. That combo does three important things:
- Faster heat transfer: Food cooks quicker because hot air is blasting right at it.
- More evaporation: Moisture leaves the surface faster, which helps crisping but can dry out lean foods.
- More efficient browning: You can get great color without the long oven wait, but sugary sauces and thin coatings can burn if you do not watch them.
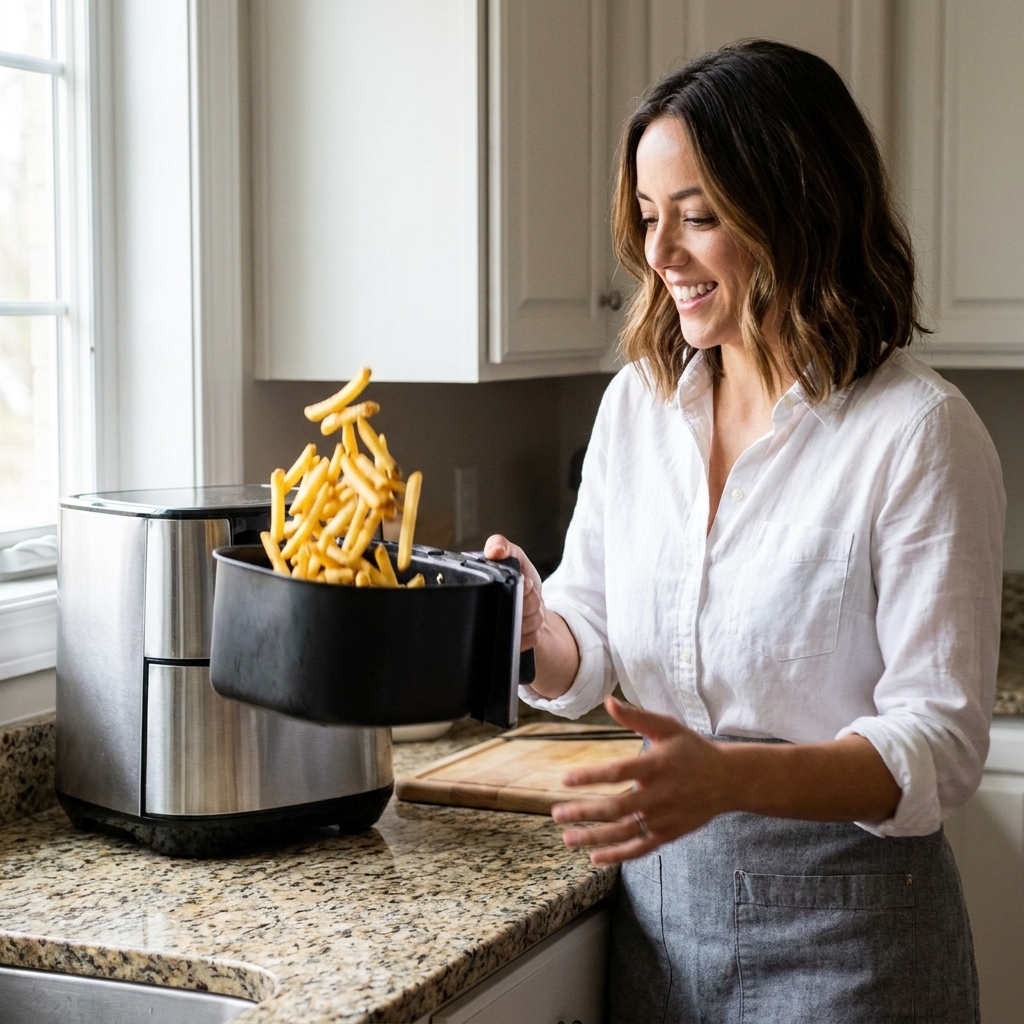
Pan and liner swaps
Basket vs oven tray
In an oven, a sheet pan is your best friend. In an air fryer, airflow is your best friend. That means:
- Single layer wins. Crowding blocks airflow and causes steaming.
- Smaller batches cook better. Plan on cooking in two rounds for anything piled high.
When to use a rack
If you are cooking something fatty (chicken thighs, sausages, bacon), a rack can keep it lifted so it does not sit in rendered fat. This is optional but helpful for crispness.
Parchment liners: yes, but timing matters
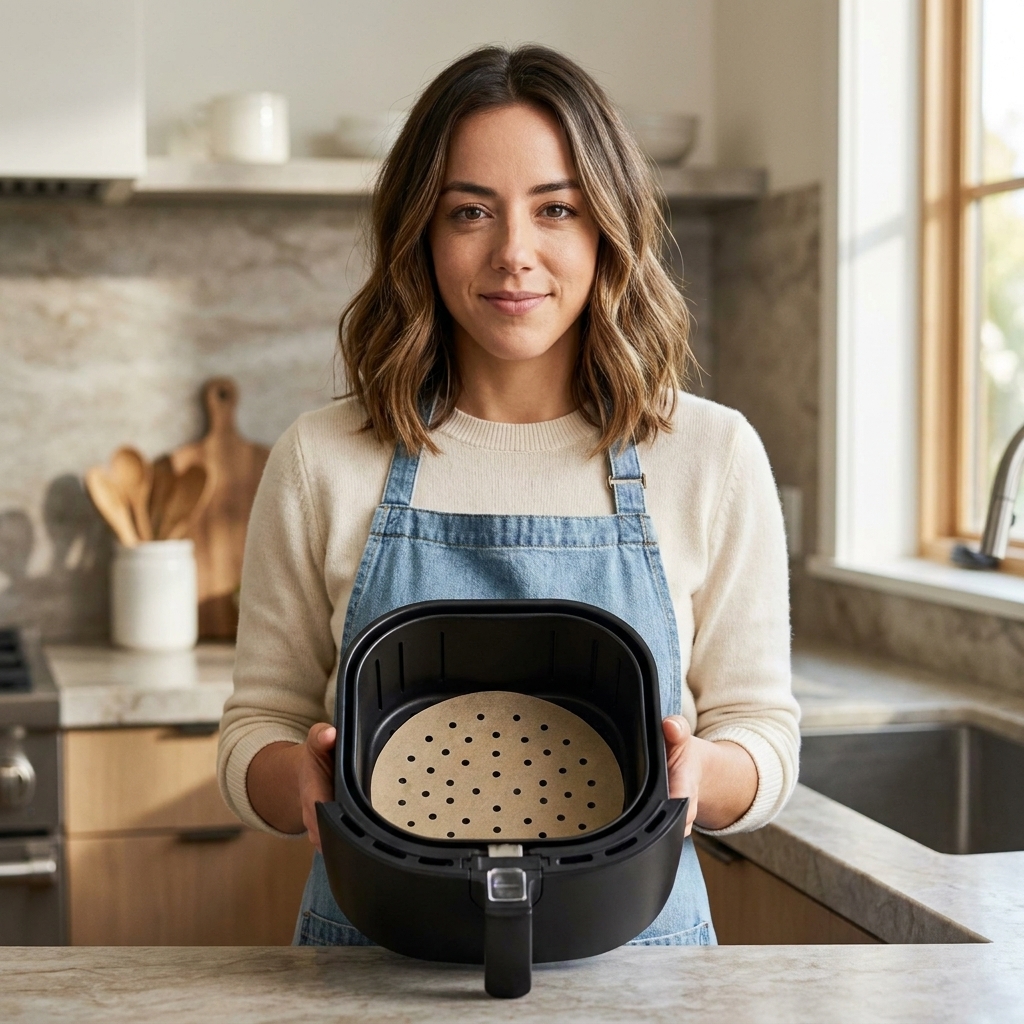
- Use perforated parchment if you have it.
- Do not add parchment during preheat. Lightweight paper can fly up into the heating element.
- Add parchment after food is in place to hold it down.
Foil: proceed with purpose
Foil can be great for sticky glazes or delicate fish, but it can also block airflow. If you use foil, keep it snug and do not cover the whole basket like a drum.
Common recipe conversions
Frozen foods
These are basically made for the air fryer.
- Temp: Usually the oven temp minus 25°F.
- Time: Start checking early, often 5 to 8 minutes sooner than the box says.
- Must-do: Shake the basket halfway, and again near the end for extra even browning.
Roasted vegetables
Air fryer veggies can be unreal, but they go from “caramelized” to “why is it bitter?” quickly.
- Cut size matters: Try to keep pieces uniform so you do not get burnt bits and raw chunks.
- Oil lightly: A thin coating helps browning and prevents dehydrated edges.
- Stir often: Toss or shake every 4 to 6 minutes.
Extra tip: For watery veggies (zucchini, mushrooms), salt them, let them sit 10 minutes, then pat dry before air frying for better browning.
Chicken breasts and lean proteins
Air fryers brown fast, but lean meat can dry out if you chase color instead of temperature.
- Use a thermometer. For chicken, the safe target is 165°F. If you pull it slightly earlier, only do it if carryover heat reliably brings it up to 165°F. Thickness matters.
- Consider a quick brine: 15 minutes in salty water makes a big difference.
- Flip halfway for even cooking.
Bone-in chicken and thicker cuts
Thicker pieces benefit from a two-step approach.
- Start a little lower (example: 350°F) to cook through.
- Finish hotter (example: 400°F) for crisp skin.
Casseroles and baked pasta
You can air fry these, but you need the right vessel.
- Use an air fryer-safe pan that fits with air space around it.
- Expect less top-to-bottom browning than a wide oven dish unless you stir midway.
- If cheese browns too quickly, cover loosely with foil for part of the cook.
Cookies, biscuits, and baked goods
I love the air fryer for small-batch baking, but airflow plus sugar is a spicy combo.
- Lower temp: Often minus 25°F, sometimes minus 50°F for very sugary doughs.
- Small portions: Bake fewer at a time.
- Use parchment: It helps prevent over-browning on the bottom.
My honesty moment: I once air fried a marshmallow “just to see.” It expanded like a science fair volcano. Learn from my chaos.
Two big cautions
Wet batters do not love air fryers
Beer batter, tempura-style batter, and anything drippy tends to set weirdly, then slide off or turn patchy. If you want that crunchy coating in an air fryer, switch to a dry breading (flour, egg, panko) or use a pre-breaded frozen option.
Tip: After breading, chill the pieces for 10 to 15 minutes (or freeze for 5 to 10) so the coating sticks and browns more evenly.
Cooking sprays and smoke
Some air fryer manufacturers caution against certain aerosol cooking sprays because they can damage nonstick coatings over time. If you want an easy, even coat, use a refillable oil mister or brush on oil instead.
Also: air fryers can smoke if there is a lot of dripping fat or sugary marinade. Trim excess fat when you can, wipe out pooled grease between batches, and save sweet glazes for the last few minutes.
Preheat, flip, shake
Do you have to preheat?
Not always, but it helps for crispness and consistency.
- Preheat for 3 to 5 minutes for breaded foods, fries, and anything you want truly crunchy.
- Skip preheat for delicate items that dry out fast, like thin fish fillets, unless the recipe specifically benefits from a quick sear.
How often should you flip or shake?
- Fries, tots, small veg: shake every 5 to 7 minutes.
- Chicken cutlets, burgers, fish sticks: flip halfway.
- Glazed or sauced foods: flip gently, and save sauce for the end when possible.
Doneness cues
Because air fryers vary, I treat cook times as guidelines, not gospel. Here is what I watch instead:
- Color: Look for even golden-brown, not just “brown on top.”
- Texture: Tap breaded foods. A crisp coating sounds slightly hollow.
- Steam: If it is still aggressively steaming when you open the basket, the surface is probably not crisp yet.
- Internal temp: The most reliable tool you own for meats.
Handy internal temps:
- Chicken (breast or thighs): 165°F
- Turkey burgers: 165°F
- Ground beef: 160°F
- Pork chops: 145°F + rest
- Fish: 145°F or flakes easily
Common problems
“It browned outside but it is raw inside.”
- Lower temp by 15°F to 25°F and cook longer.
- Reduce thickness (pound chicken cutlets, cut potatoes smaller).
- For bone-in meats, start lower and finish higher.
“It is dry.”
- Lower temp slightly and pull earlier.
- Use a light oil coating or a quick brine for lean proteins.
- Do not over-preheat for delicate foods.
“It is not crispy.”
- Stop crowding. Cook in batches.
- Pat ingredients dry before oiling.
- Increase temp by 10°F to 15°F for the last 2 to 4 minutes.
“My sauce is burning.”
- Add sauce at the end, or brush on during the last 3 to 5 minutes.
- Use foil under very sugary glazes if needed, but keep airflow in mind.
“It tastes uneven.”
- Shake or flip more often.
- Rotate the pan if you are using a baking dish inside the basket.
Three example conversions
1) Oven roasted broccoli
Oven: 425°F for 18 to 22 minutes
Air fryer start: 400°F for 10 to 14 minutes, shake at 6 minutes
Tip: Make sure florets are dry before oiling. Wet broccoli steams and stays soft.
2) Oven chicken tenders
Oven: 400°F for 18 to 20 minutes
Air fryer start: 375°F for 12 to 15 minutes, flip at 7 minutes
Tip: Spray the breading lightly with oil (or mist it) for that deep-fried vibe.
3) Oven frozen fries
Oven: 425°F for 20 to 25 minutes
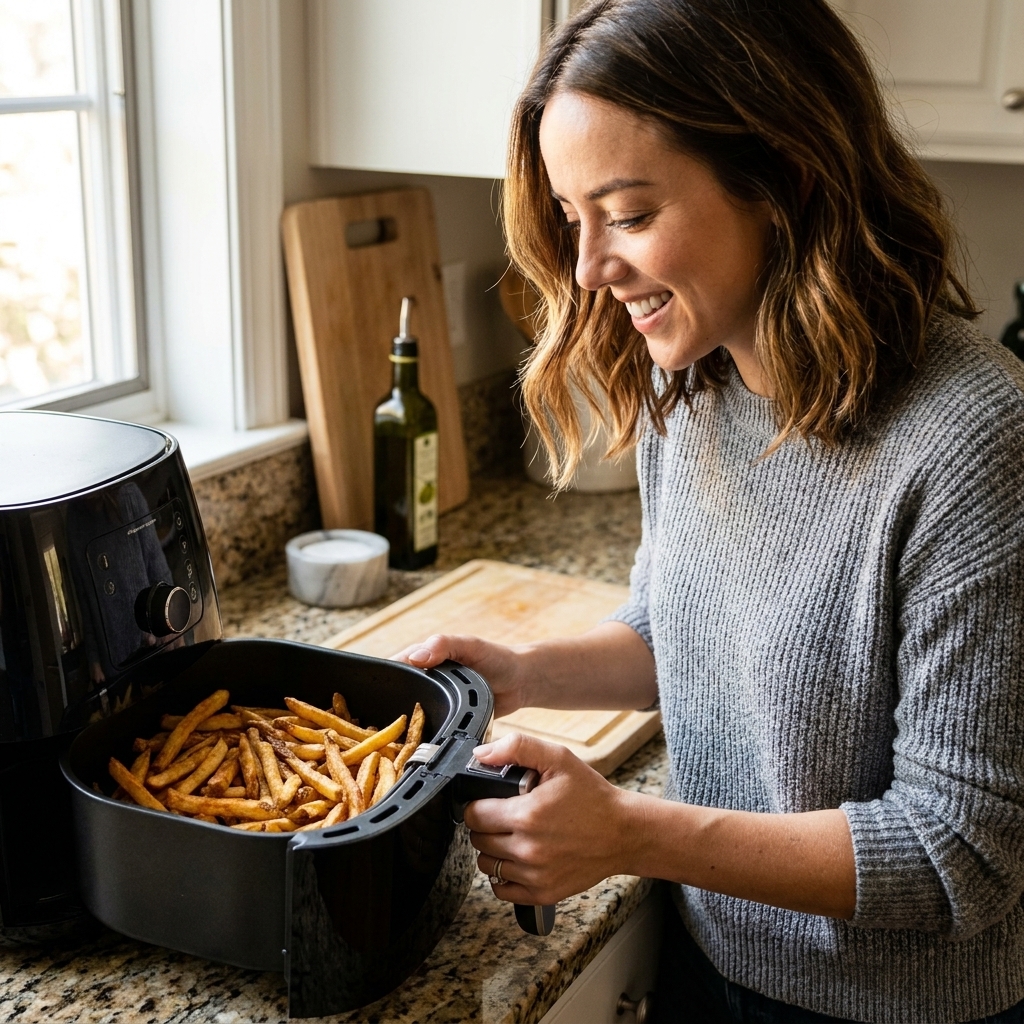
Air fryer start: 400°F for 12 to 18 minutes, shake twice
Tip: If you want them extra crisp, finish with 2 minutes at 425°F.
FAQ
Is an air fryer just a convection oven?
Basically, yes. It is a compact countertop convection appliance with strong airflow, which is why it cooks faster and crisps so well.
Can I convert any oven recipe to the air fryer?
Almost. Anything that relies on gentle, slow drying (like big casseroles, custards, or large loaves) is trickier because the outside can overcook before the center sets. For those, the air fryer is better for smaller portions or reheating.
Do I need to adjust recipes with baking powder or yeast?
Not usually, but baking times can change a lot. For yeasted items, watch for browning and internal doneness rather than the timer, and consider lowering the temp a bit more to prevent a too-dark crust.
Should I use oil?
A little oil goes a long way. For most foods, I use 1 to 2 teaspoons for a full basket of vegetables or a quick spritz from an oil mister for breaded items. The goal is a thin, even coating, not a pool.
One-minute checklist
- Reduce temp by 25°F.
- Check at 70% of oven time.
- Cook in a single layer.
- Flip or shake halfway (and more if crowded).
- Use doneness cues, especially a thermometer for meat.