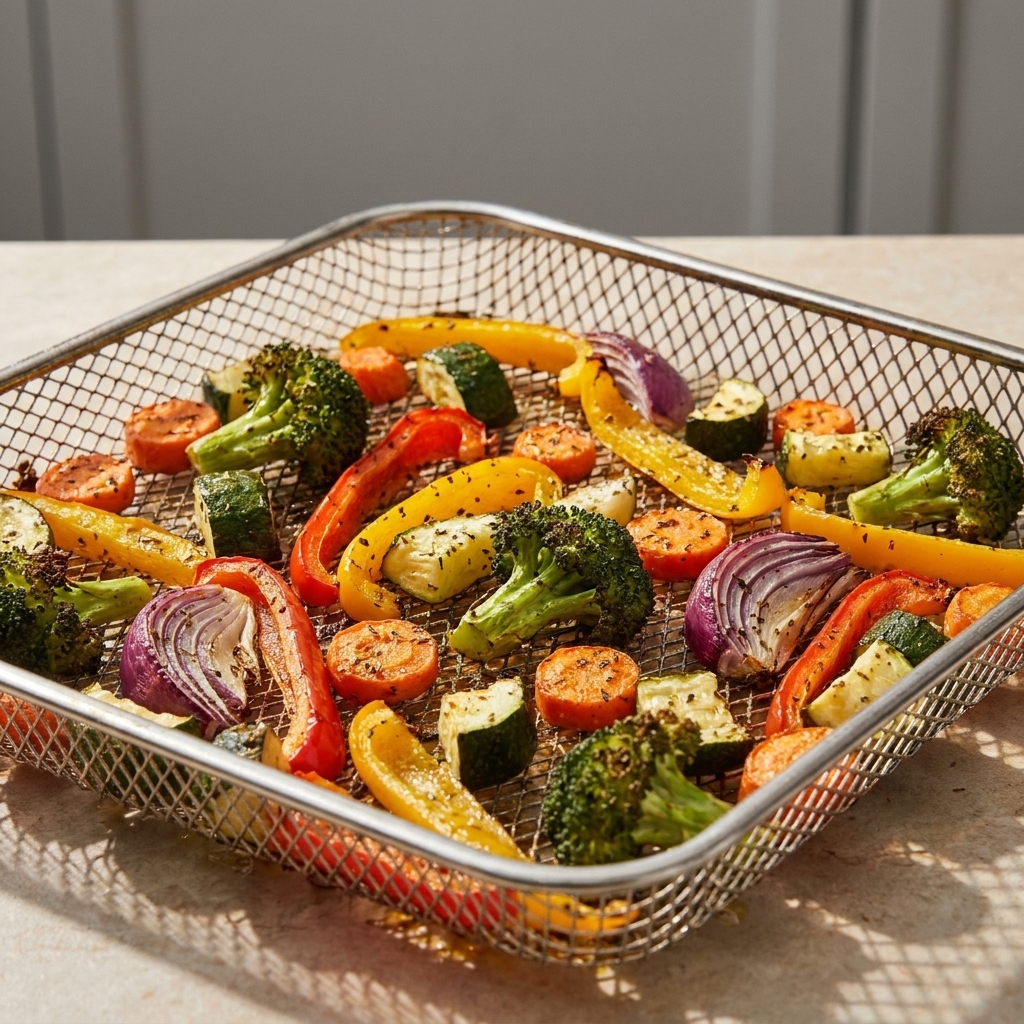
If you grew up in a house where “crispy” basically meant “fresh out of the deep fryer,” you already know the heartbreak of a soggy air fryer batch. I have been there. I have also been the person who confidently promised “they’ll crisp up” and then served limp fries to my kids like it was totally on purpose.
The good news: the air fryer can deliver that shattery, golden crunch. You just have to give hot air the best possible conditions to do its job. Here are my seven most reliable, repeatable secrets for the ultimate crispy finish, without deep frying.
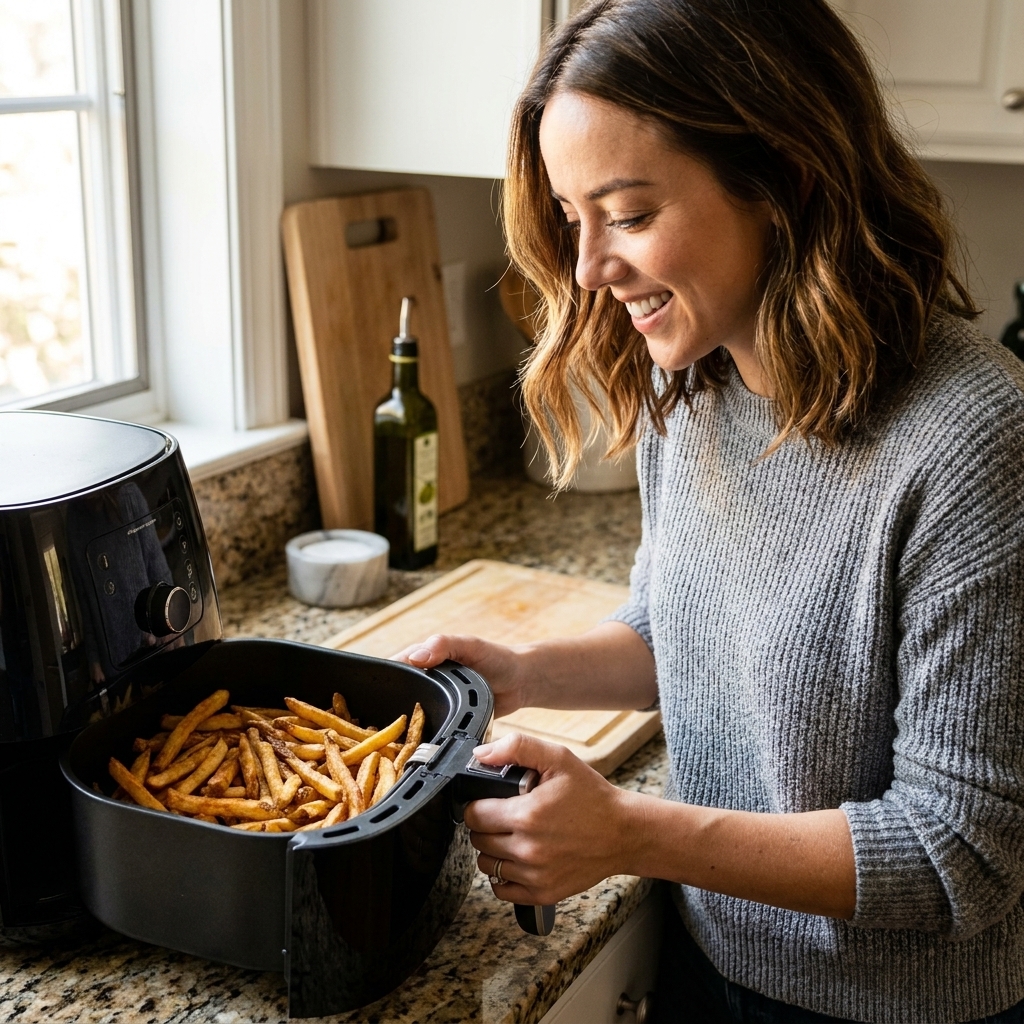
Secret #1: Dry food like you mean it
Crispiness and moisture are frenemies. Surface water turns to steam, and steam is the fast lane to “soft and sad.” Before anything goes into the basket, get the outside as dry as possible.
- Fresh veggies: Rinse, then dry thoroughly with a clean towel or paper towels.
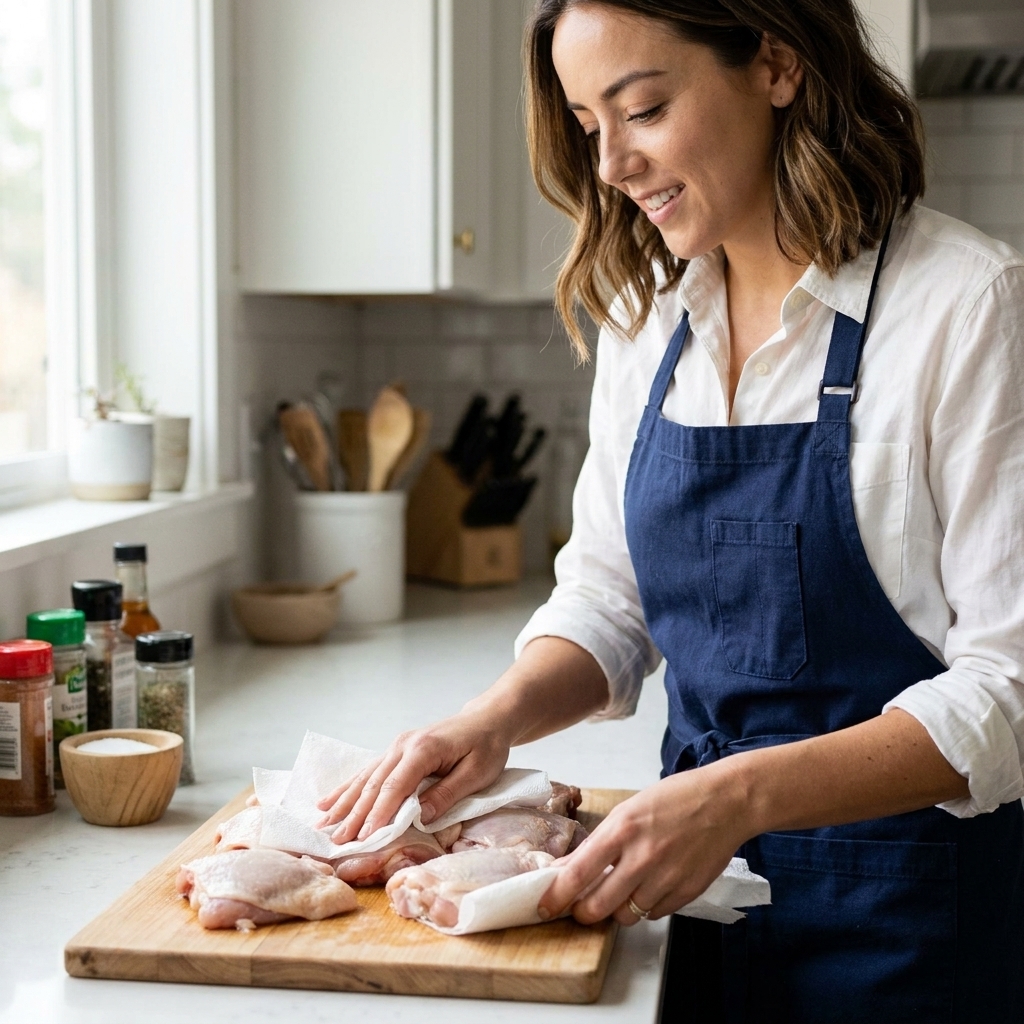
- Meat: Pat dry, especially skin-on chicken.
- Frozen foods: Do not thaw. Thawing creates puddles, puddles create steam.
Extra credit for potatoes: If you want truly crisp fries or wedges, soak cut potatoes in cold water for 20 to 30 minutes, drain, then dry aggressively. Soaking helps pull off excess surface starch, and less starch plus a drier surface generally means better browning and less sticking.
Secret #2: Preheat, even when you don't want to
Preheating is like letting your skillet get hot before you add a steak. Starting hot helps food begin crisping immediately instead of slowly warming up and sweating.
- How long: 3 to 5 minutes is enough for most air fryers.
- What temp: Preheat at the temperature you will cook at, or at 400°F if your recipe is flexible and you want extra browning.
If your air fryer has a preheat function, great. If not, just run it empty. I know it feels like an extra step. It is also the step that separates “kind of crispy” from “whoa.”
Secret #3: Use oil strategically
You do not need a lot of oil, but you usually need some. Oil helps conduct heat and encourages browning. The trick is applying a thin, even layer.
My go-to method
- Toss food with 1 to 2 teaspoons oil per standard air fryer basket batch (about 1 pound of veggies or potatoes), or
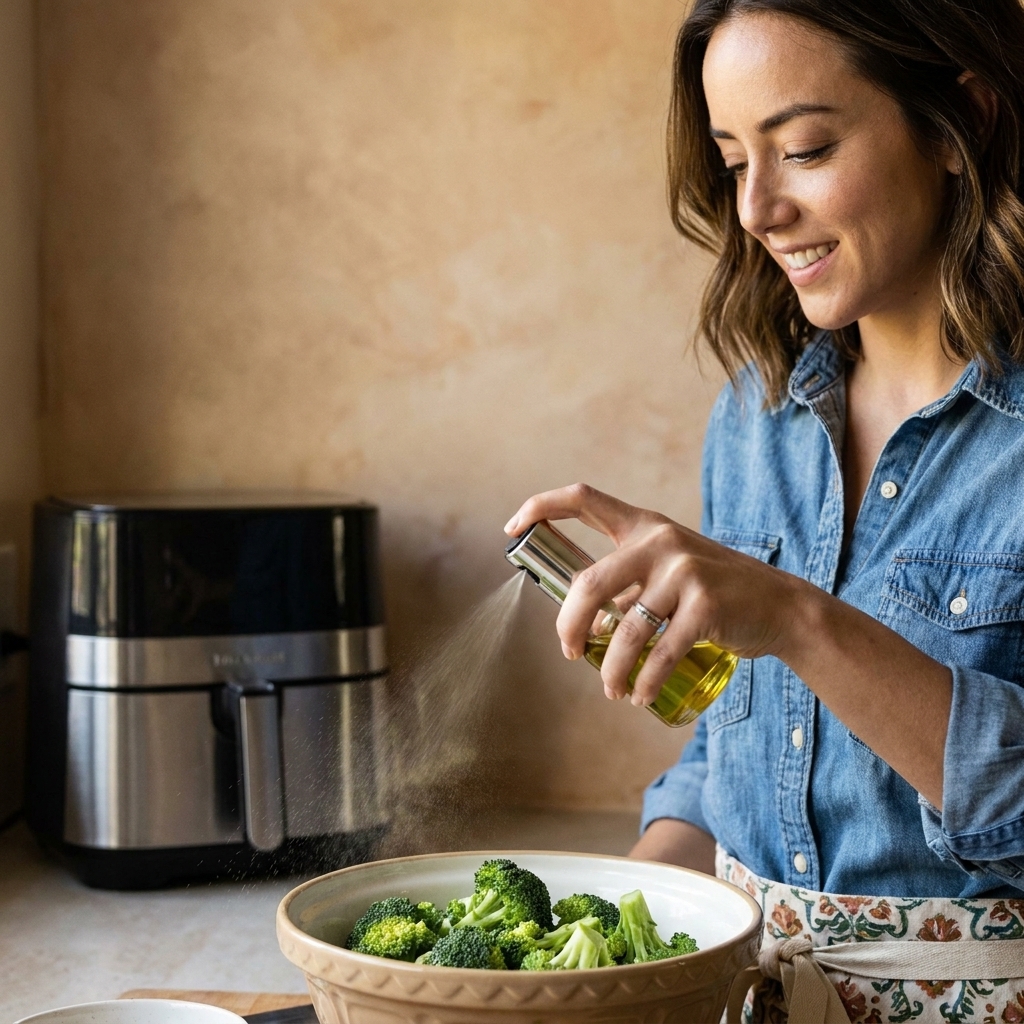
- Use an oil spritzer and spray a light coat right before cooking, then again after you flip or shake.
Best oils for crisping: avocado, canola, grapeseed, light olive oil. Save butter and extra virgin olive oil for after cooking if you are going for high heat.
Important: Some aerosol nonstick sprays can build residue on certain nonstick coatings over time. If your manual warns against aerosol sprays, listen to it. When in doubt, use a refillable mister or brush on a thin layer of oil.
Secret #4: Do not crowd the basket
Air fryers crisp by moving hot air around your food. When you pile pieces on top of each other, you block the airflow and trap steam. Translation: pale spots, soft bottoms, and uneven browning.
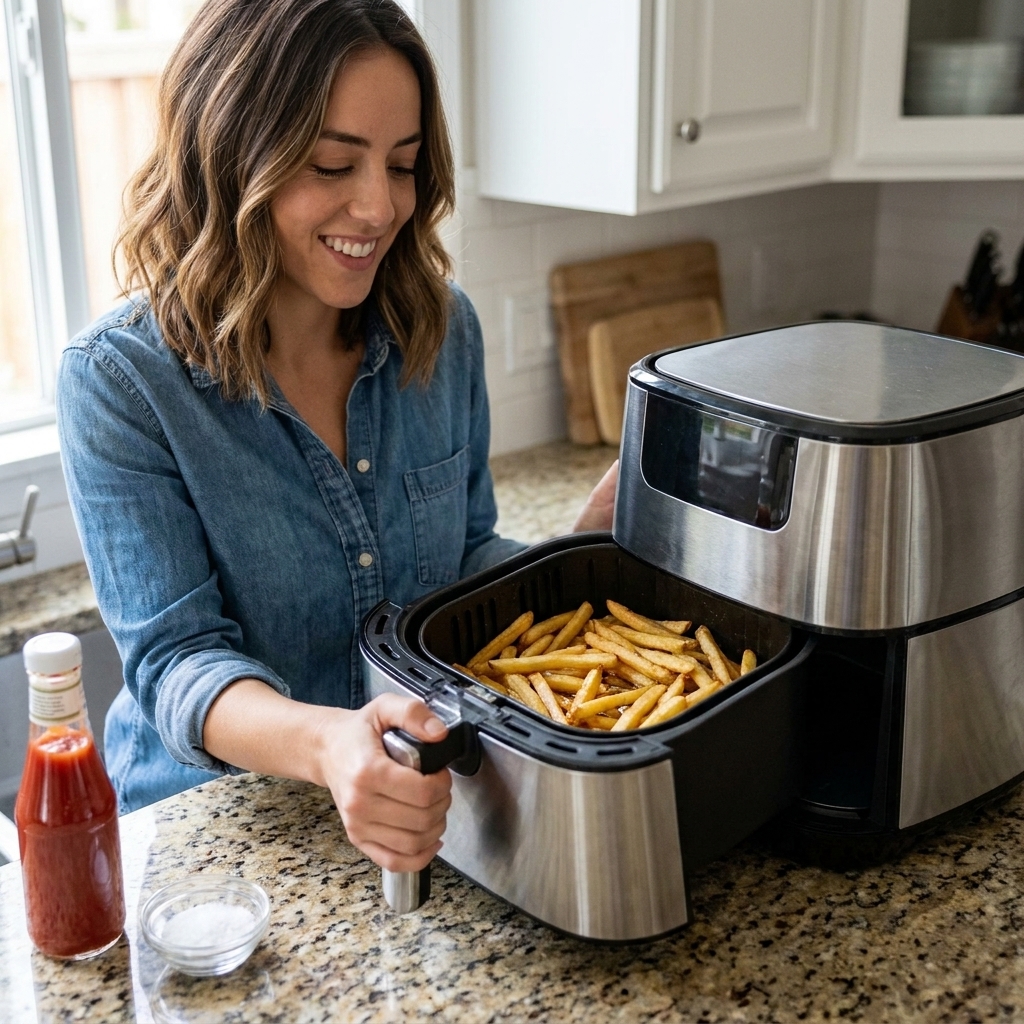
- Rule of thumb: Aim for one layer with a little space between pieces.
- If you need more: Cook in batches. Yes, it is annoying. It is also how restaurants keep things crispy.
If you are air frying something that shrinks (like Brussels sprouts or chicken wings), you can start with a slightly fuller basket. But if pieces are touching wall to wall, you are steaming, not frying.
Secret #5: Shake and flip
Even great air fryers have hot spots. Shaking and flipping is not busywork, it is your crisp insurance policy.
When to shake or flip
- Small pieces (fries, nuggets, cauliflower): shake every 5 to 7 minutes
- Larger items (chicken thighs, pork chops): flip halfway through
- Multiple trays (oven-style air fryers): rotate tray positions halfway through
Pro tip: Shake like you are gently tumbling, not aggressively launching food into the heating element. I learned this the hard way. (Different day than the marshmallow incident, but same chaotic energy.)
Secret #6: Pick a coating that crisps
Not all coatings crisp the same, and some need a little help.
Coating options that crisp beautifully
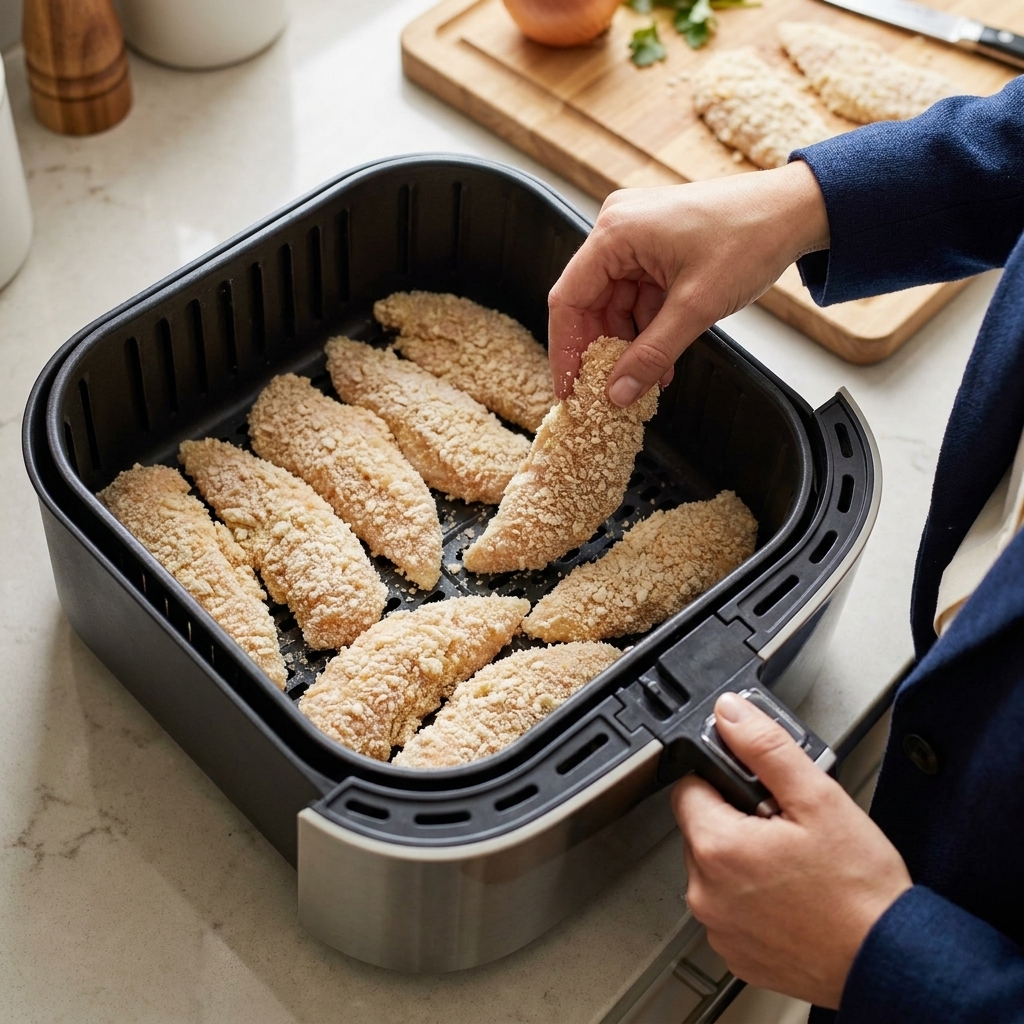
- Panko: extra crunchy, great for chicken tenders and fish
- Cornstarch: light, crackly finish for tofu and wings
- Flour + cornstarch blend: closer to classic fried texture
- Crushed cornflakes: big crunch, kid-approved
How to avoid bald spots
- Press coatings on firmly, especially panko.
- Chill breaded items for 10 to 15 minutes before air frying if you have time. It helps the coating set.
- Spritz breaded food lightly with oil. Dry breadcrumbs can stay pale without it.
If your coating browns too fast: Lower the temperature and cook a little longer. Delicate breaded foods can go from golden to overdone while the inside is still catching up.
Secret #7: Finish hot, then rest
If your food is cooked through but not quite crisp enough, do a short high-heat finish. This is my favorite save when a batch looks “almost there.”
- Try: increase the temperature by 20 to 30°F for the last 2 to 4 minutes (often finishing at 400°F)
- Or: keep temperature the same and just add 2 to 3 minutes
Then let it rest for 1 to 2 minutes on a plate or rack. That tiny rest helps steam dissipate so the crust stays crisp when you bite in.
One exception: If you cover food to “keep it warm,” you trap steam and soften the crust. If you are holding batches briefly, keep them in a low oven (around 200°F) on a wire rack instead. (Even then, everything loses a little crunch eventually. That is just physics being rude.)
Quick crispiness troubleshooting
“Why is my food not getting crispy?”
- Too wet: dry the surface more, do not thaw frozen foods
- Too crowded: cook in batches and give pieces breathing room
- Not enough oil: spritz lightly, especially on breaded items
- Temperature too low: preheat and consider a 400°F finish
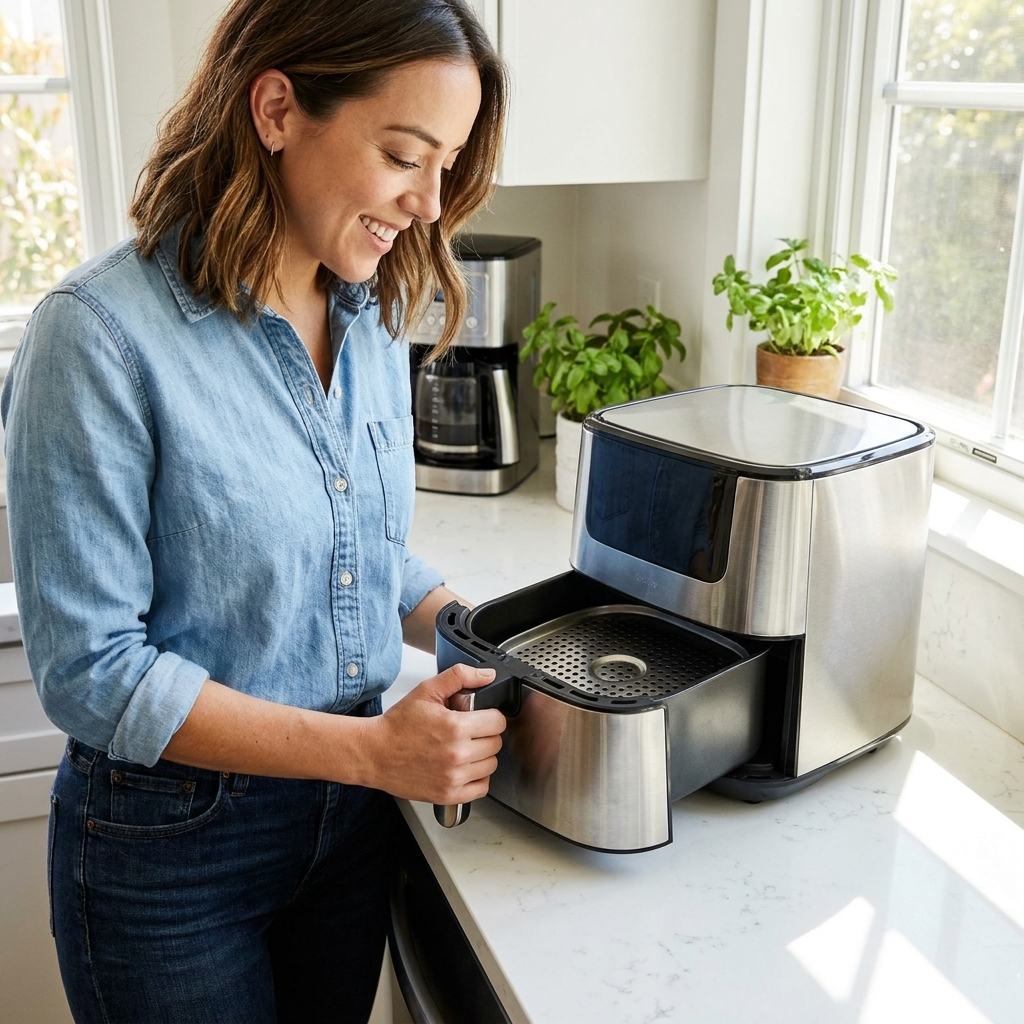
- Airflow is blocked: skip solid liners that cover the basket holes, and make sure the basket and vents are not gunked up
“Why is it crispy on top but soggy on the bottom?”
- Flip halfway through.
- Use a rack accessory (if your model supports it) to lift food slightly.
- Reduce saucy marinades during cooking. Add sauce after for best crunch.
“Why is my breading dry and pale?”
- Spritz the breading with oil before cooking.
- Use panko or a panko blend for better browning.
- Make sure your preheat is actually hot, not just “warmed up.”
My crispy workflow
If you want a simple routine you can apply to almost anything, here it is:
- Pat dry (or soak and dry, for potatoes).
- Season, then add a light oil coating (toss or spritz).
- Preheat 3 to 5 minutes.
- Cook in a single layer.
- Shake or flip halfway (and spritz again if needed).
- Finish hot for 2 to 4 minutes if you want more color.
- Rest 1 to 2 minutes, then serve immediately.
Once you build the habit, crispy becomes your default. And that is when the air fryer really earns its counter space.