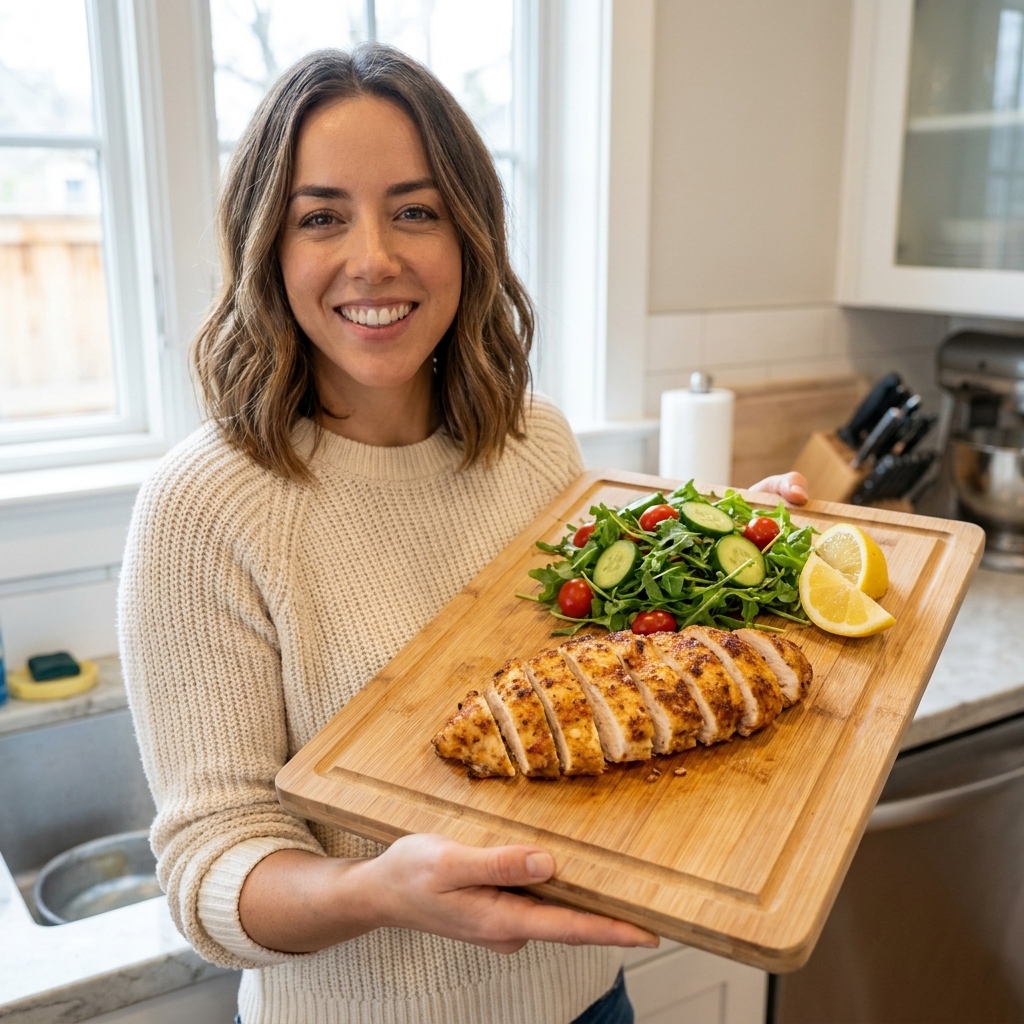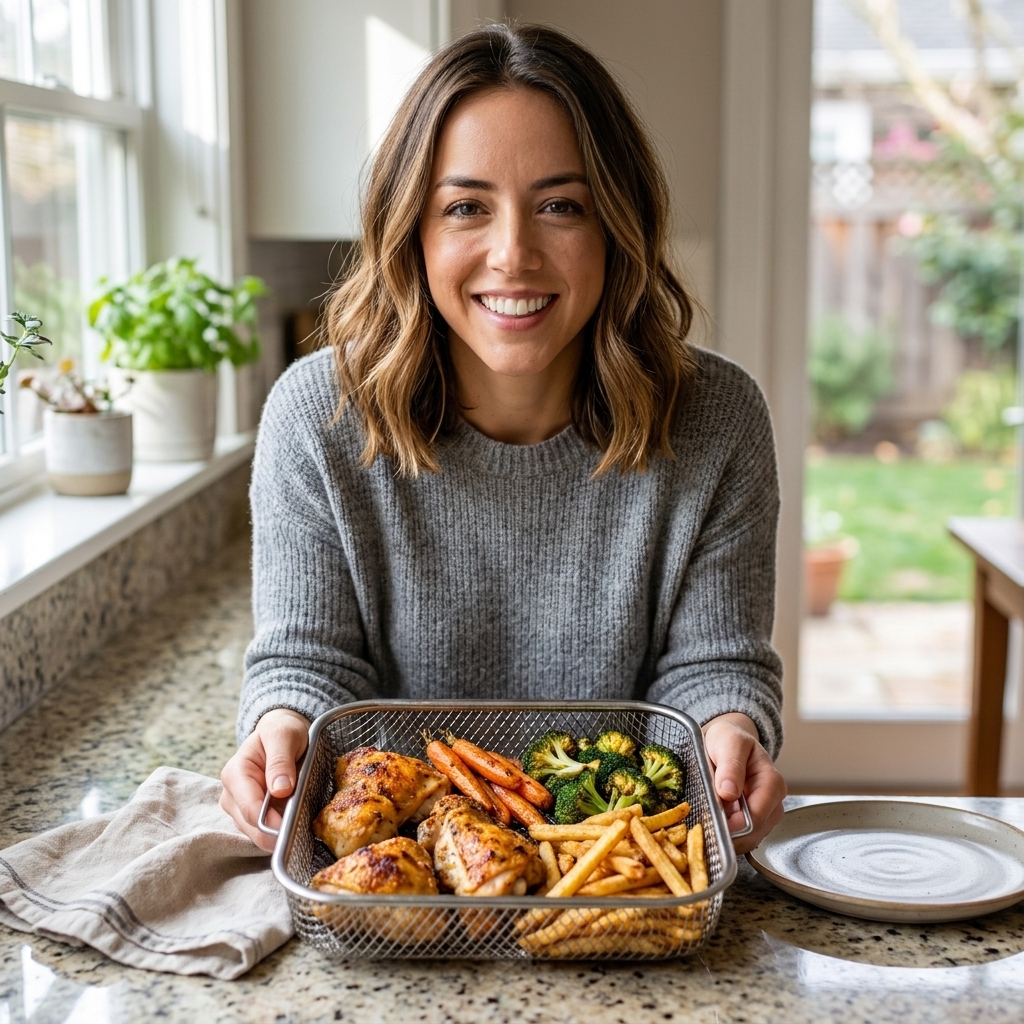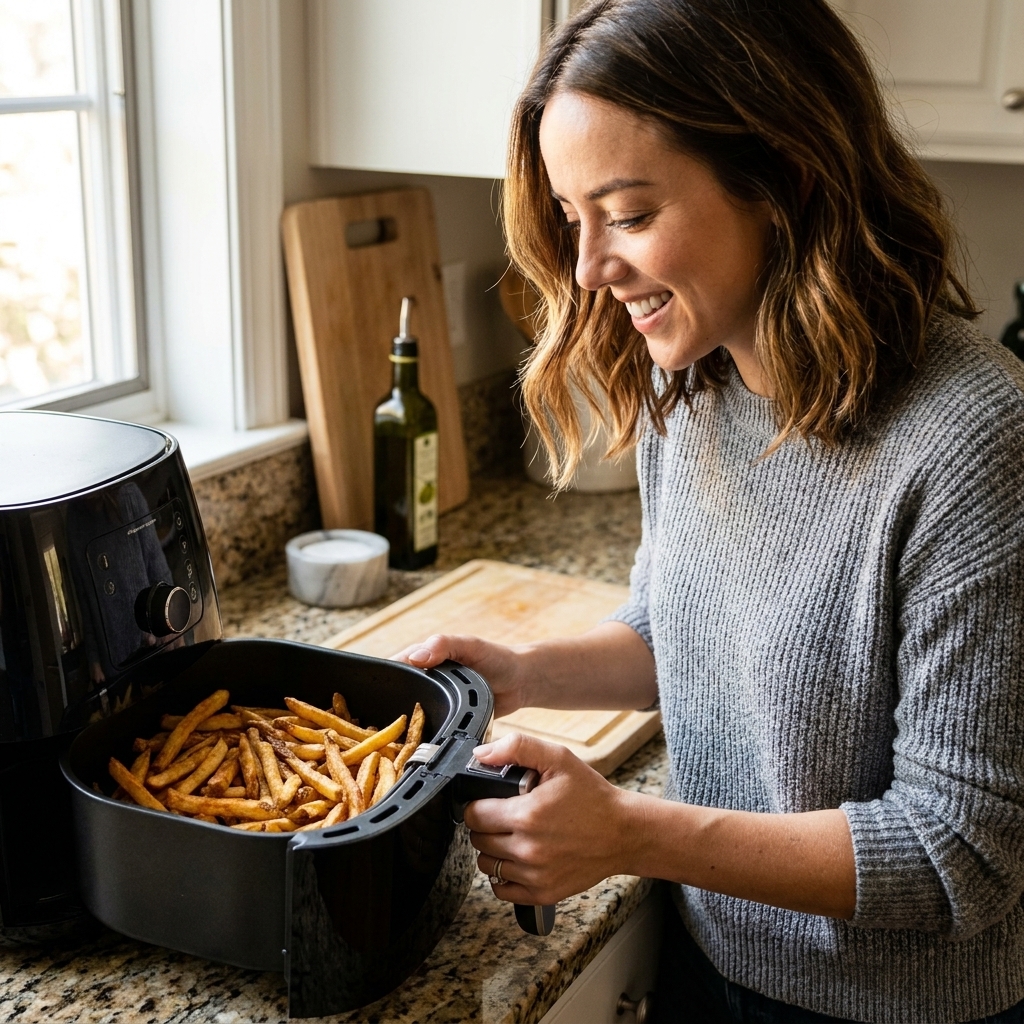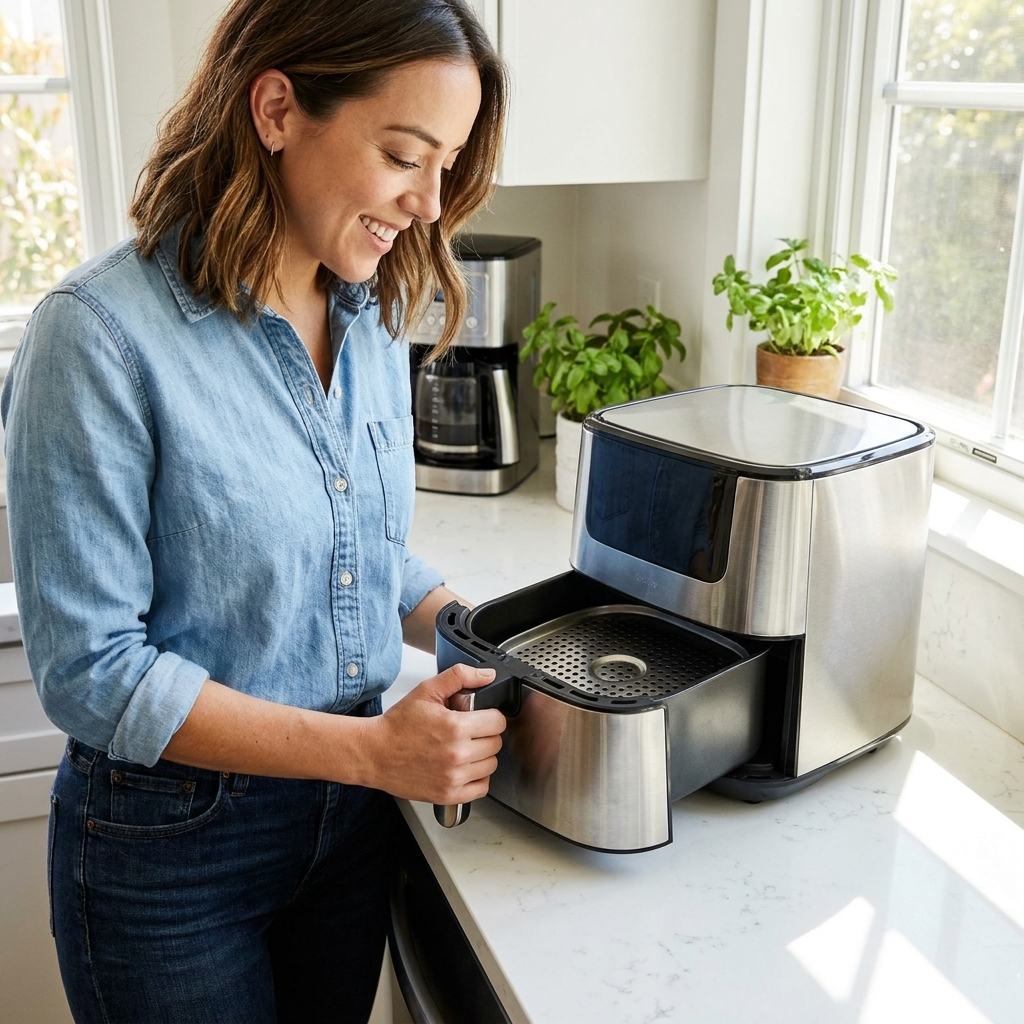
If you have ever pulled an air fryer chicken breast that looked perfect on the outside and somehow ate like a paper towel, you are not alone. Chicken breast is lean, which means it goes from juicy to dry fast, especially in a high-powered convection basket.
The good news: with the right temp, an accurate thickness-based time, and one small “juice insurance” step (hello, brine), you can make chicken breast that is weeknight-easy and actually crave-worthy.
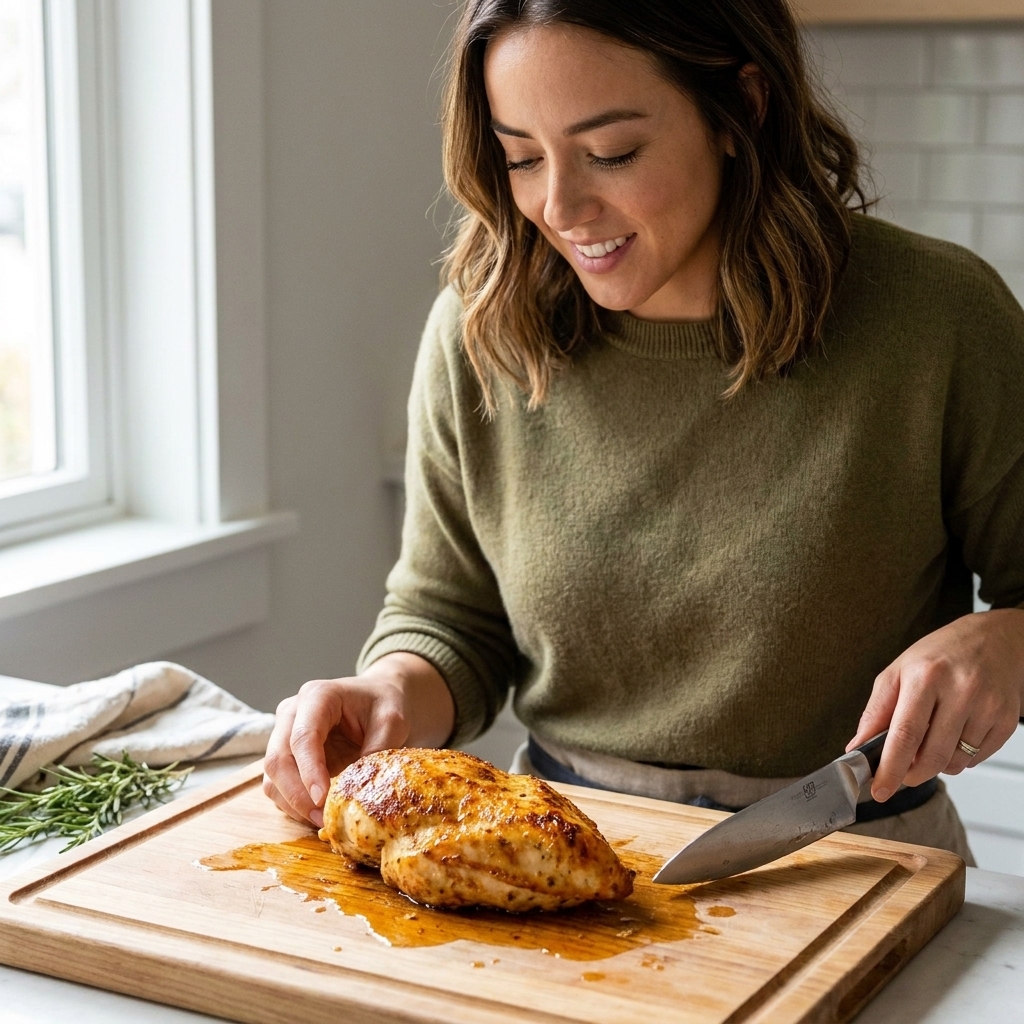
The juicy chicken basics
- Thickness matters more than weight. A 6-ounce breast can be thin or thick. Thickness decides the cook time.
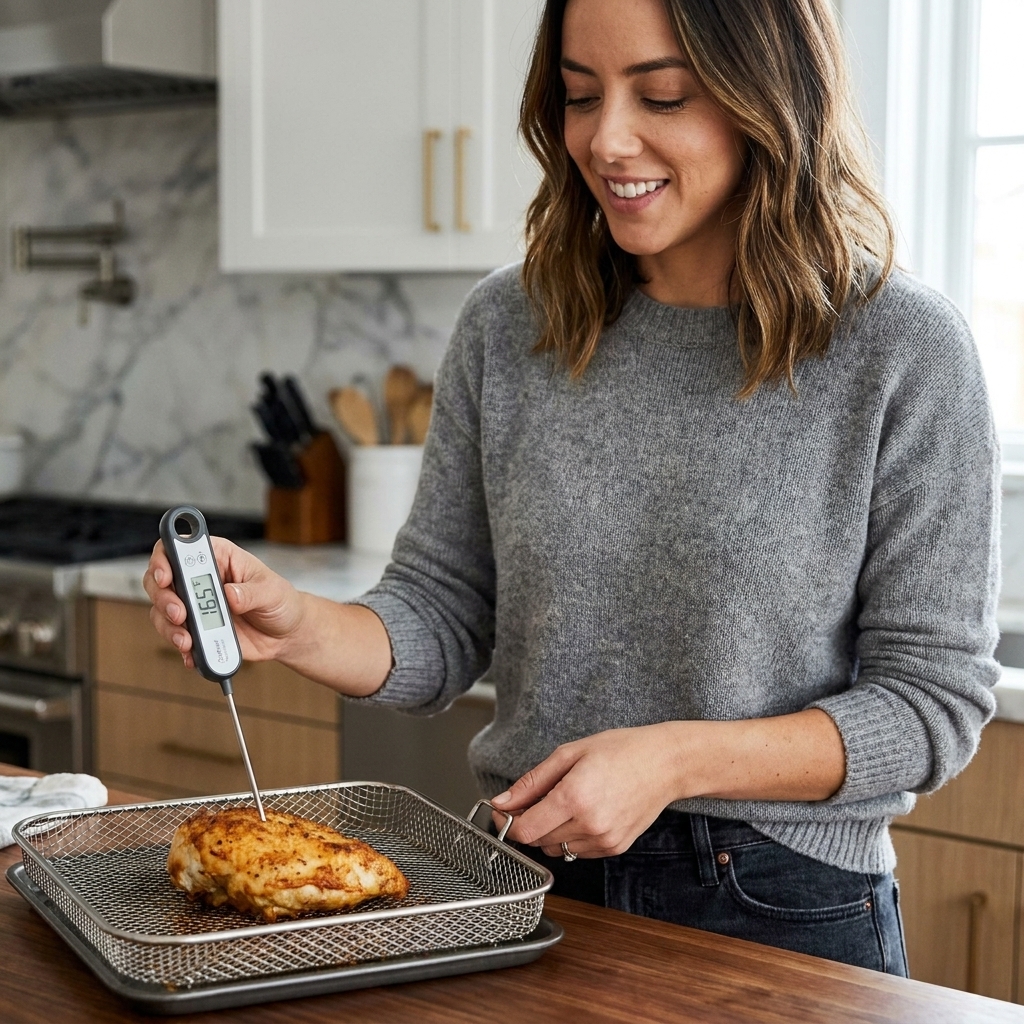
- Cook to temperature, not vibes. For the simplest, safest target, cook chicken breast to 165°F in the thickest part.
- Rest is part of cooking. Resting 5 minutes reduces juice loss when you slice.
- Dry surface, not dry meat. Pat the chicken dry before seasoning so it browns instead of steaming.
Quick food safety note: Skip washing raw chicken (it can spread bacteria around your sink). Keep brined chicken contained, and sanitize your sink, board, and hands after handling.
Best temperature
For most air fryers, I get the best balance of browning and moisture at 380°F. It is hot enough to brown the outside without overcooking the outside before the center catches up.
When to use 400°F: If your breasts are thinner (around 1/2 to 3/4 inch) and you want more browning. Watch closely, because the margin between done and dry gets slimmer.
When to use 360°F: If your chicken breasts are extra thick (1 1/2 inches and up) or you are cooking from very cold or frozen. Lower temp gives you a gentler climb to 165°F.
Cook times chart
These times are for boneless, skinless chicken breasts cooked at 380°F, in a preheated air fryer, in a single layer. Flip halfway for even browning.
Timing note: Treat this as a starting range. Air fryers vary, and so do breasts. These ranges assume typical grocery-store breasts starting cold from the fridge, not room temp.
| Thickness (thickest part) | Time at 380°F | Flip? |
|---|---|---|
| 1/2 inch | 8 to 10 minutes | Yes, at 4 to 5 minutes |
| 3/4 inch | 10 to 12 minutes | Yes, at 5 to 6 minutes |
| 1 inch | 12 to 14 minutes | Yes, at 6 to 7 minutes |
| 1 1/4 inch | 14 to 17 minutes | Yes, at 7 to 8 minutes |
| 1 1/2 inch | 17 to 20 minutes | Yes, at 9 to 10 minutes |
Target: For the clearest, no-math approach, pull the chicken when the thickest part hits 165°F.
About pulling at 160 to 162°F: Chicken can be safe at lower temperatures if it is held there long enough, and carryover heat during a rest can help. But carryover varies a lot (especially with smaller breasts), so for beginners and for stress-free safety, aim for 165°F before you call it done.
Prep for even cooking
1) Even out the thick end
Most breasts are thick on one side and thin on the other. That is how you get one end dry and the other end barely done.
- Place the breast between parchment or plastic wrap.
- Gently pound the thickest part to even it out.
- You are not trying to make chicken cutlets unless you want cutlets, you just want a more uniform thickness.
2) Pat dry, then oil lightly
Moisture on the surface creates steam. I pat dry, then rub with 1 to 2 teaspoons oil per pound of chicken. Oil helps seasoning stick and promotes browning.
3) Preheat (when it helps)
Some models run best with a quick preheat. I typically do 3 to 5 minutes at the cooking temperature.
Brining tips
I know brining sounds like a weekend project. It is not. It is the easiest way to make chicken breast more forgiving in the air fryer.
Quick wet brine
Formula: 4 cups water + salt.
- If using Diamond Crystal kosher salt: 3 tablespoons.
- If using Morton kosher salt: 2 tablespoons.
- If using table salt: 1 1/2 to 2 tablespoons.
- Stir until dissolved.
- Add chicken and refrigerate 30 to 60 minutes. Even 20 minutes helps.
- Remove, let excess brine drip off, then pat very dry.
Rinsing note: You do not need to rinse. If you choose to rinse because you prefer a less salty surface, do it carefully and sanitize the sink and surrounding area right after to avoid cross-contamination.
Why it works: Salt helps the meat retain moisture and seasons the chicken all the way through, not just on the surface.
Dry brine (my busy-mom favorite)
If you forget to make brine water, do this:
- Sprinkle chicken evenly with 1/2 teaspoon kosher salt per breast (more if it is huge).
- Refrigerate 30 minutes to overnight, uncovered if you can.
- Pat off any surface moisture, then oil and season.
Buttermilk brine
This is my “fried chicken energy” move without the deep fryer.
- Cover chicken in buttermilk with 1/2 to 1 teaspoon salt stirred in.
- Refrigerate 2 to 8 hours.
- Wipe off excess (do not fully rinse), then season and air fry.
My honest warning: If you wet-brine and then skip patting dry, you can end up with pale chicken. Brine makes it juicy. Dry surface makes it golden.
My go-to seasoning
This is the baseline blend I use when I need chicken that fits everything from salads to wraps to pasta.
- 1 tablespoon oil
- 1 teaspoon paprika
- 1/2 teaspoon garlic powder
- 1/2 teaspoon onion powder
- 1/4 teaspoon black pepper
- Optional: 1/2 teaspoon dried Italian seasoning or oregano
Salt note: If you brined, go light on extra salt or skip it in the seasoning blend.
Step-by-step
- Brine (optional but recommended). Wet brine 30 to 60 minutes or dry brine 30 minutes.
- Pat dry. This is the browning step.
- Preheat air fryer to 380°F for 3 to 5 minutes if needed.
- Oil and season. Coat lightly, season evenly.
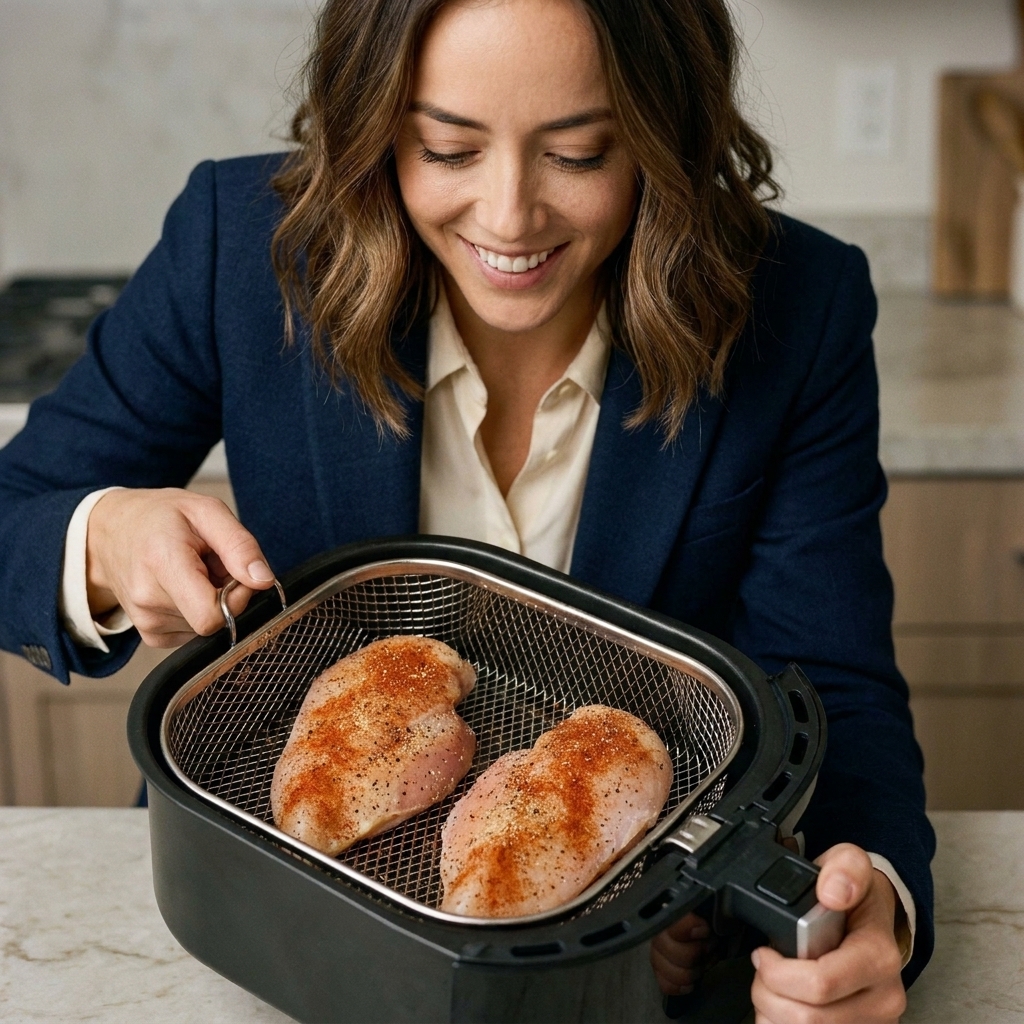
- Cook in a single layer for the time range that matches your thickness.
- Flip halfway.
- Temp check. Remove when the thickest part reaches 165°F.
- Rest 5 minutes. Then slice against the grain.
Common mistakes
“It is dry”
- You overcooked it, even by a few degrees. Use a thermometer.
- Try brining. It adds a moisture buffer.
- Cook at 380°F instead of 400°F for thicker breasts.
“It is pale and kind of steamy”
- Chicken was not dried well after brining.
- Basket was crowded. Air flow is your crisping engine.
- Add a touch more oil or a pinch of sugar to your rub for browning.
“One end is perfect and the other is tough”
- Uneven thickness. Pound the thick end or trim and cook pieces separately.
“My cook time never matches yours”
- Air fryers vary, and so does thickness. Treat my chart as a starting range and let the thermometer finish the decision.
- Cooking straight from the fridge can add 1 to 3 minutes.
Frozen chicken breast
You can cook chicken breast from frozen, but it is harder to keep it juicy because it can overcook on the outside before the center is done.
Best approach:
- Cook at 360°F for 18 to 25 minutes, flipping a few times.
- Once the exterior is thawed enough for seasoning to stick (often around 8 to 12 minutes, depending on thickness), pull it out carefully, pat dry, oil and season, then continue cooking.
- Cook to 165°F, then rest 5 minutes.
Note: If the chicken is frozen in a solid clump, thaw first. Air frying works best with air around each piece.
Leftovers
Chicken breast dries out fastest on the reheat. Here is how I keep it from turning into chalk.
- Store: Cool, then refrigerate in an airtight container for up to 4 days.
- Slice before storing if you are using it for lunches. It reheats faster and more evenly.
- Reheat: Air fry at 320°F for 3 to 6 minutes until warmed through. Add a tiny splash of broth in the container before reheating if it seems dry.
FAQ
Do I have to flip chicken breast?
I recommend it. Flipping halfway helps both sides brown and keeps the top from drying while the bottom sits in hotter air.
Is 165°F always the number?
For chicken breast, 165°F at the thickest part is the simplest safe target. Yes, there are safe time and temperature combinations below that, but if you want a clear rule that works every time, stick with 165°F and rest after cooking for better juiciness.
Should I use parchment liners?
You can, but choose perforated liners and never block airflow completely. If your liner is solid, you can lose crisping and cook unevenly.
Can I cook chicken and veggies together?
You can, but it is tricky because veggies release moisture and can steam the chicken. If you do it, keep everything in a single layer and choose quick-cooking veggies like peppers or zucchini.