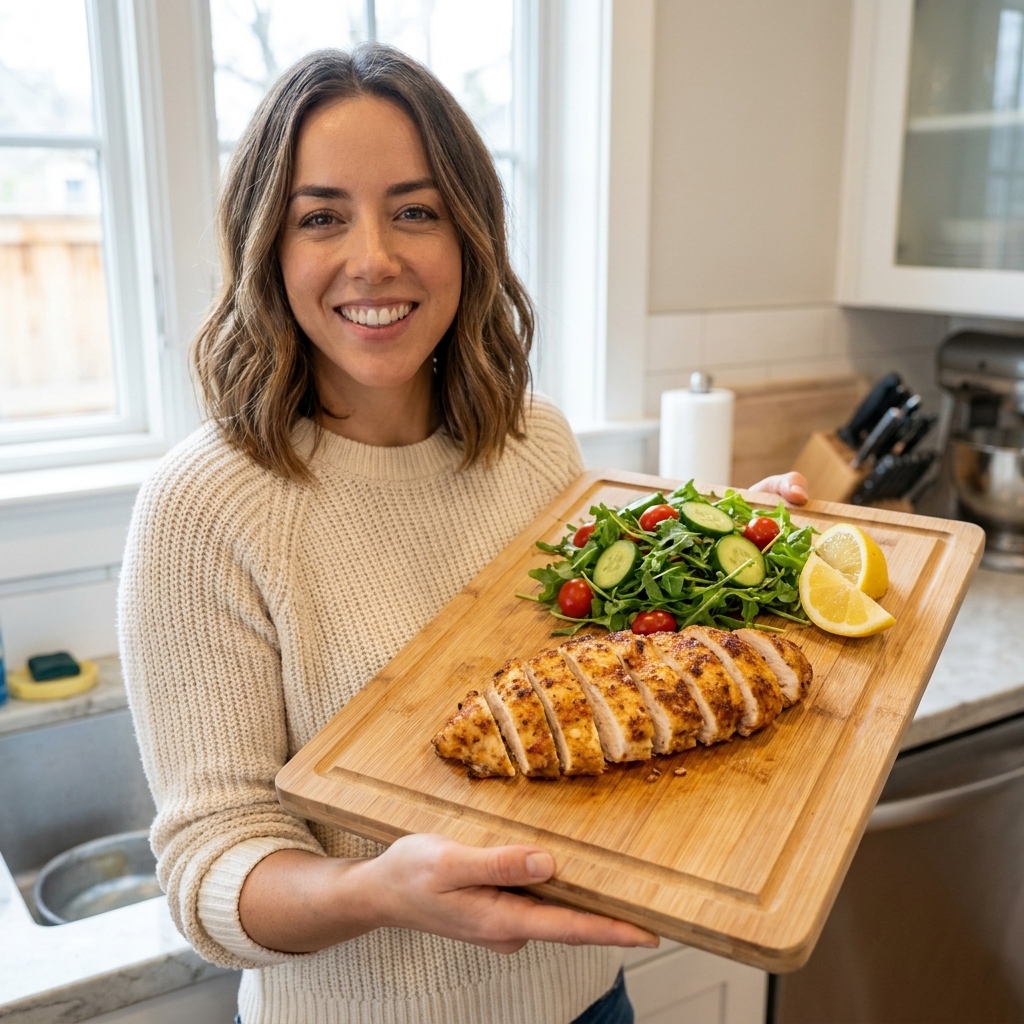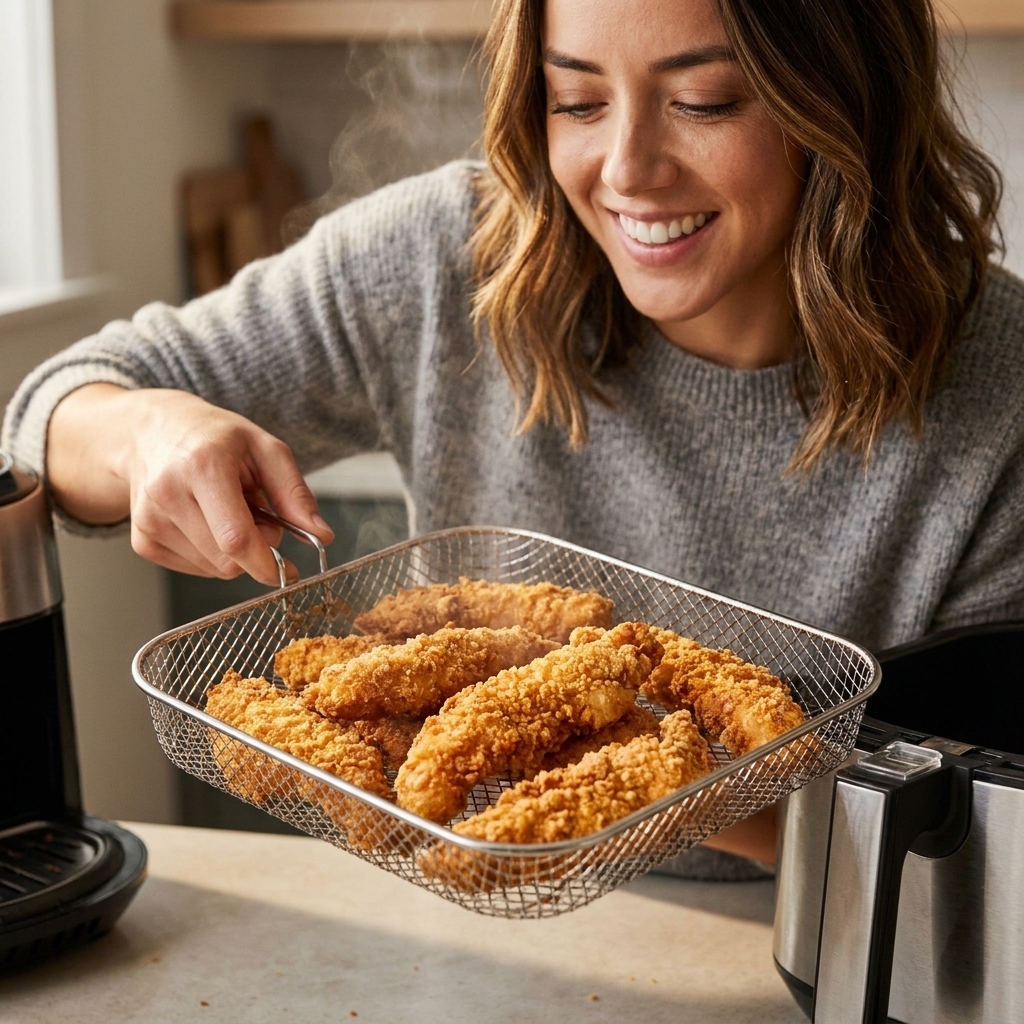
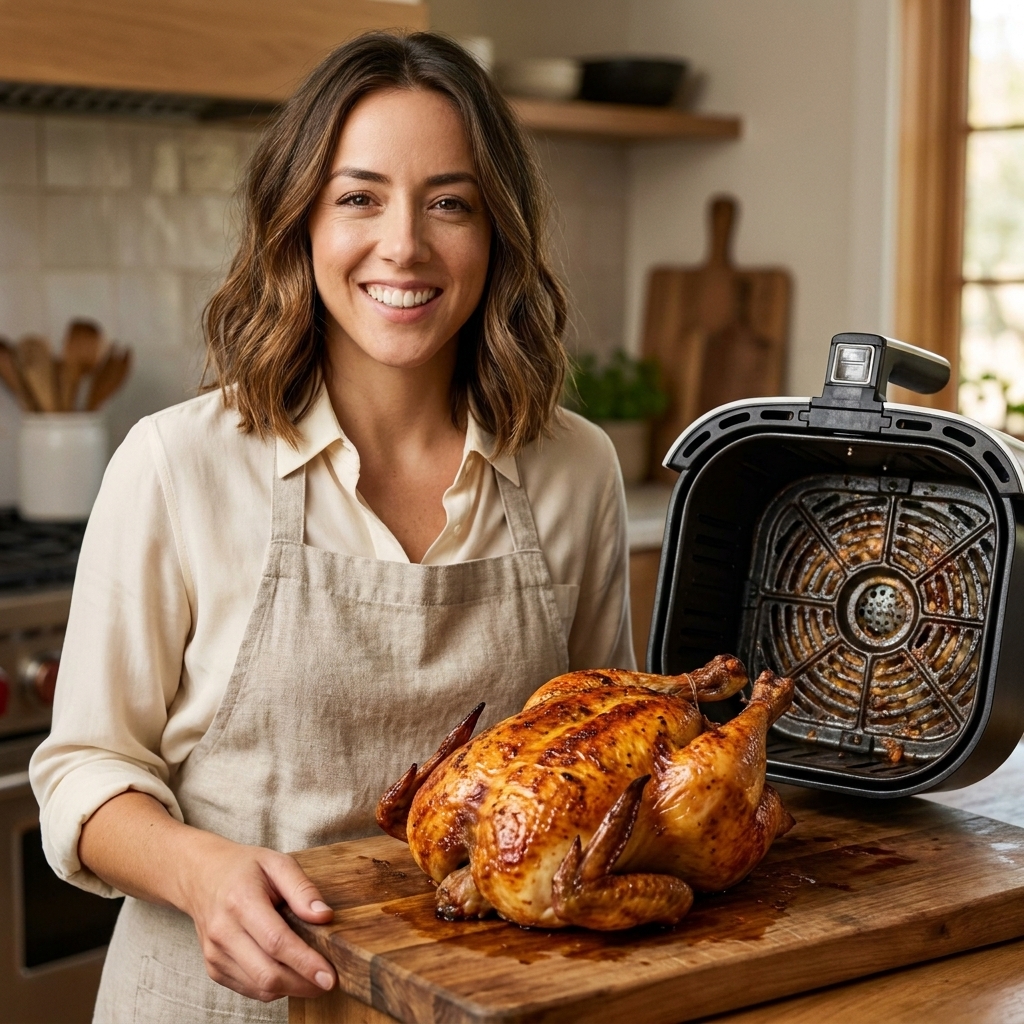
If you grew up in a deep-fry-or-bust family like I did, a whole chicken that comes out actually crispy without a vat of oil feels like kitchen magic. The air fryer can absolutely do it, but the difference between pale rubbery skin and that rotisserie-style crackle comes down to three things: dry skin, the right temperature schedule, and enough clearance for air to move around the bird.
This is the method I use on busy weeknights when I want a "Sunday dinner" payoff with Thursday energy.
Before you start
What size chicken fits?
Most basket and oven-style air fryers handle a 3 to 4.5 pound whole chicken comfortably. If you have a roomy 6 to 8 quart basket, 5 pounds can work, but only if there is airflow on all sides and the bird is not pressed against the heating element.
- If it barely fits: you will steam the sides and the skin will stay soft. Size down or spatchcock it.
- If your air fryer runs small: aim for a 3 to 3.75 pound chicken for best airflow.
If you have an oven-style air fryer
- Use the middle rack so the top is not too close to the heating element.
- Put the drip tray under the chicken (or on the lowest level) to catch drippings and cut down on smoke.
- If your model has multiple rack positions, rotate the tray position once during cooking if you notice uneven browning.
Tools that make this easier
- Instant-read thermometer (non-negotiable for whole chicken)
- Kitchen twine (optional but helps with even cooking)
- Small bowl for seasoning paste
Times and temps
I get the best mix of browned skin and juicy meat by starting hot to set the skin, then finishing slightly lower so the breast does not dry out.
Time chart
| Chicken weight | Cook schedule | Estimated total time | Flip? |
|---|---|---|---|
| 3.0 to 3.5 lb | 380°F 20 min, then 360°F until done | 40 to 55 min | Yes, at 20 min |
| 3.5 to 4.25 lb | 380°F 20 min, then 360°F until done | 55 to 70 min | Yes, at 20 min |
| 4.25 to 5.0 lb | 380°F 25 min, then 360°F until done | 70 to 90 min | Yes, at 25 min |
When to start checking temp: Start probing 10 minutes after the flip for smaller birds (3 to 3.5 lb), and 15 minutes after the flip for larger birds. Then check every 5 to 8 minutes.
Target internal temperature: Breast 165°F (safety line), thighs 175 to 185°F for best texture.
I often pull the chicken when the breast hits 160 to 162°F only if I am giving it a full 10 to 15 minute rest and I can confirm it climbs to 165°F before serving. If you are new to this or your chicken is not rising during the rest, keep cooking until the breast reads 165°F in the thickest part.
My biggest honesty moment: if you only watch the clock, you will eventually overcook a chicken. Air fryers vary, chickens vary, and I have personally dried out a beautiful bird while answering a text about soccer practice.
Step-by-step
1) Dry the chicken
Remove giblets. Pat the chicken dry inside and out with paper towels. Then do one of these:
- Best: Leave it uncovered on a plate in the fridge 8 to 24 hours (dry brine step below pairs perfectly).
- Good enough: Pat dry, then let it sit on the counter 10 to 20 minutes while you mix seasoning. This is optional, and it will not make or break the recipe.
Dry skin equals crisp skin. Moisture equals steamed skin.
2) Season (dry brine)
For the crispiest skin, salt early. If you have time, sprinkle the chicken all over with:
- 1 to 1 1/2 teaspoons kosher salt per pound of chicken (use the lower end if using a denser kosher salt like Morton).
Refrigerate uncovered for 8 to 24 hours. This seasons the meat and helps the skin dry out.
3) Add a little oil, then spices
Rub the chicken with 1 to 2 teaspoons of a high-heat oil (avocado, canola, grapeseed) or a thin coat of melted butter. You are not adding a lot of fat so much as giving the skin a conductor for browning and helping seasonings stick.
Simple rotisserie-style seasoning blend:
- 1 tablespoon paprika
- 1 teaspoon garlic powder
- 1 teaspoon onion powder
- 1/2 teaspoon dried thyme (or Italian seasoning)
- 1/2 teaspoon black pepper
- Pinch of cayenne (optional)
Sprinkle all over, including the underside. (I season over the sink because paprika gets everywhere. Ask me how I know.)
4) Truss (optional)
Tuck wing tips behind the back. Tie the legs together with twine. This keeps the tips from burning and encourages even cooking.
5) Preheat, then start breast-side down
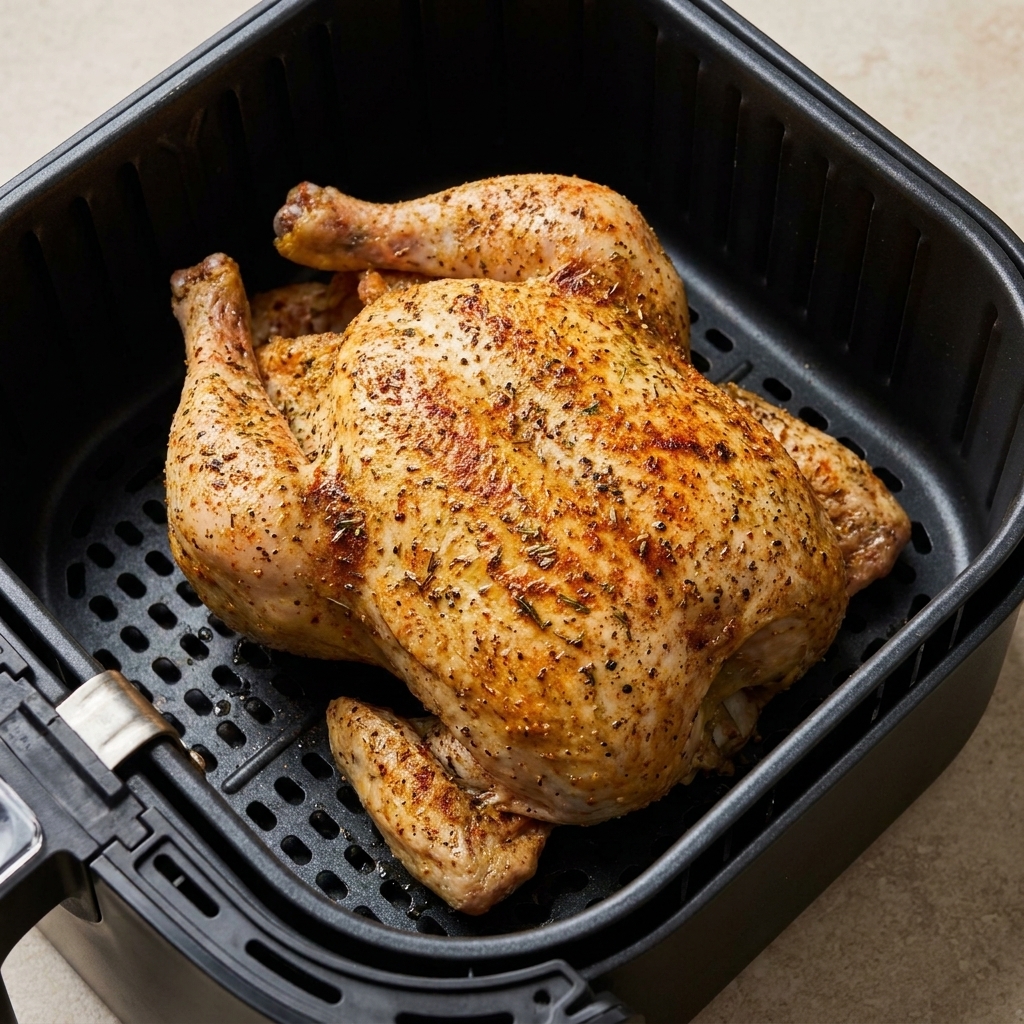
Preheat the air fryer to 380°F for 3 to 5 minutes. Place the chicken in the basket breast-side down.
Cooking breast-side down first helps protect lean breast meat while the dark meat gets a head start.
Cooking instructions
Cook at 380°F for 20 minutes (or 25 minutes for a 4.25 to 5 lb bird).
Flip breast-side up. (I use two silicone-tipped tongs and lift carefully. Hot chicken is slippery.)
Reduce to 360°F and cook until done, checking temperature starting 10 to 15 minutes after the flip.
Temp check correctly: Insert the thermometer into the thickest part of the breast, not touching bone. Check the inner thigh too. You want the breast to reach 165°F and the thighs to land in the 175 to 185°F zone.
Rest 10 to 15 minutes before carving. Resting keeps the meat juicy. For crispier skin, rest the chicken uncovered so steam can escape instead of softening the skin.
If the skin is not as browned as you like: Once the chicken is at temperature, blast at 400°F for 2 to 4 minutes. Stay close. That last little browning step can go from perfect to too dark quickly.
Crispy skin tricks
Baking powder (the right way)
If you want extra crackle, mix 1 teaspoon baking powder into your spice blend (for a 3.5 to 4.5 lb chicken). Baking powder raises pH and helps the skin brown and blister.
- Do not use baking soda. Wrong flavor, wrong results.
- Use aluminum-free baking powder if you have it to avoid any off taste.
Avoid wet marinades on the skin
Marinate the meat all you want, but wet ingredients on the outside are crispness killers. If you love lemon-garlic flavors, put lemon and herbs inside the cavity instead of on the skin.
Give it breathing room
Air fryers are tiny convection ovens. If the chicken is wedged in tight, the skin will steam where it touches the basket walls.
Manage smoke
Chicken drippings can smoke at high heat, especially if your basket has old residue.
- Start with a clean basket and tray.
- If your model manual allows it, add 1 to 2 tablespoons water to the bottom drip pan (not on the chicken) to reduce smoking from rendered fat. If your manufacturer discourages liquid in the drawer or during preheat, skip this.
- Avoid sugary rubs until the final 5 minutes if you want to add a glaze.
Flavor options
Classic rotisserie
Paprika, garlic powder, onion powder, thyme, black pepper, and a little baking powder.
Lemon herb
Season skin with salt, pepper, garlic powder, and dried oregano. Stuff cavity with lemon halves and a handful of fresh herbs. Keep the skin dry.
BBQ-style
Use a smoky spice rub without sugar for the main cook. Brush with BBQ sauce for the last 3 to 5 minutes at 360°F.
Carving
After the 10 to 15 minute rest:
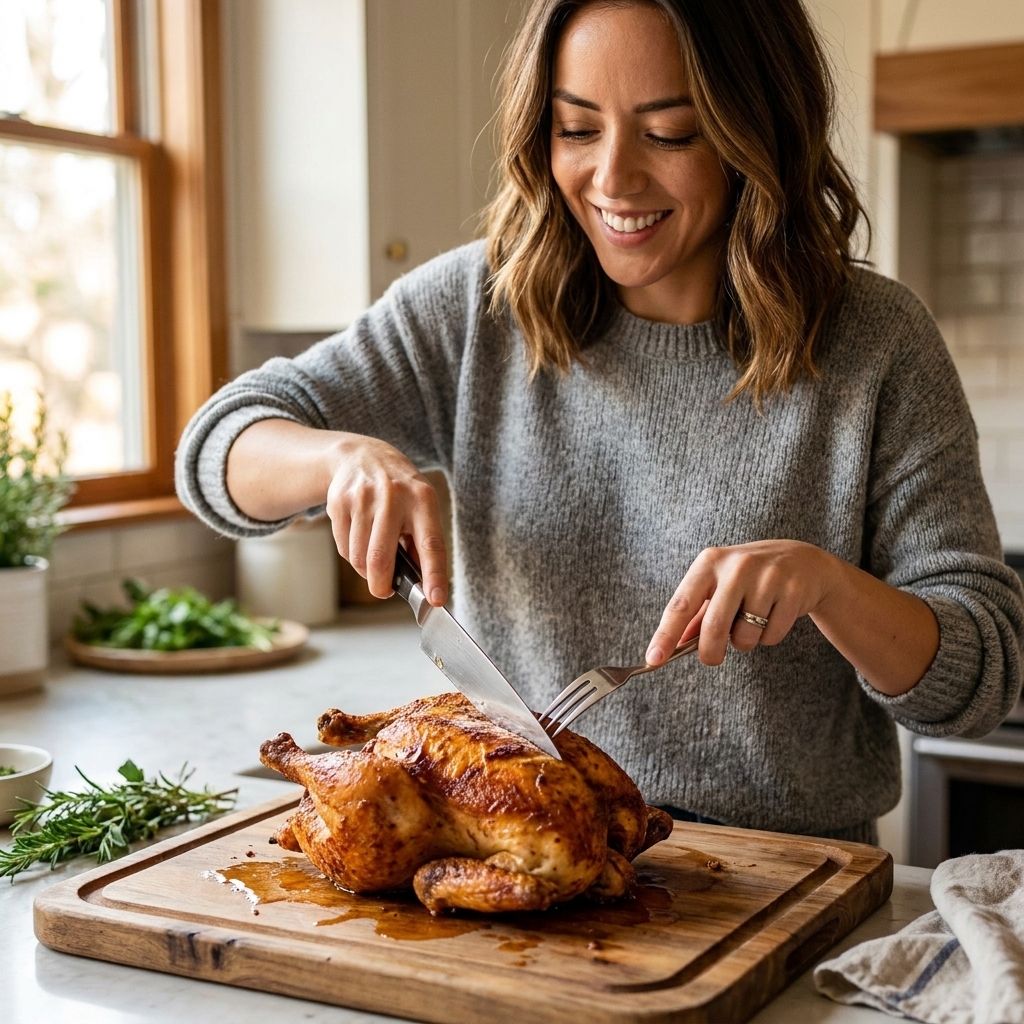
- Remove legs and thighs first.
- Separate drumsticks from thighs.
- Slice breast meat against the grain.
- Save the juices on the cutting board and spoon them over the sliced meat.
Troubleshooting
Skin is not crispy
- You did not dry the skin enough. Pat dry and consider an uncovered fridge rest next time.
- The chicken was too big for the basket. Airflow matters more than you think.
- The outside was wet (marinade, too much oil, or butter pooling). Use a thin coat only.
- You skipped the high-heat start. Begin at 380°F to set the skin.
Breast is done but thighs are not
This happens with some chickens. Two fixes:
- Let it ride at 360°F and tent the breast with a small piece of foil if it is browning too fast.
- Next time, start breast-side down (my default) and do not skip the flip.
Getting too dark on top
- Lower to 350 to 360°F for the final stretch.
- Loosely tent the top with foil (make sure it is secured so it does not touch the heating element).
It smoked up my kitchen
- Clean the basket and drip tray thoroughly.
- If your manual allows it, add a spoonful or two of water to the drip pan area.
- Trim excess fat near the cavity opening if it is especially fatty.
Food safety
- Cook to temperature, not just time. 165°F in the thickest part of the meat is the safety line.
- If you pull the chicken early for carryover cooking, make sure it reaches 165°F before serving.
- Refrigerate leftovers within 2 hours.
Leftovers and reheating
Store carved meat in an airtight container for up to 4 days.
Best reheat method: Air fry pieces at 350°F for 4 to 8 minutes until warmed through. For skin-on pieces, finish with 1 to 2 minutes at 380°F.
Microwaves warm fast, but they turn crisp skin soft. I still use one when the kids are melting down, but I do not pretend it is the same.
FAQ
Do I need to preheat?
I recommend it. A short preheat helps the skin start crisping immediately instead of slowly warming and steaming.
Can I cook a frozen whole chicken?
I do not recommend cooking a whole chicken from fully frozen in an air fryer. It is hard to season properly, it cooks unevenly, and it can sit too long in the temperature danger zone while the center thaws. Thaw in the fridge first.
Do I have to flip it?
No, but flipping gives more even browning and helps protect the breast early on. If you skip flipping, expect to rotate the basket position and watch for hot spots.
What temperature makes the skin crispiest?
Starting at 380°F sets you up for crisp skin. If you want extra browning at the end, finish with a short blast at 400°F after the chicken is fully cooked.