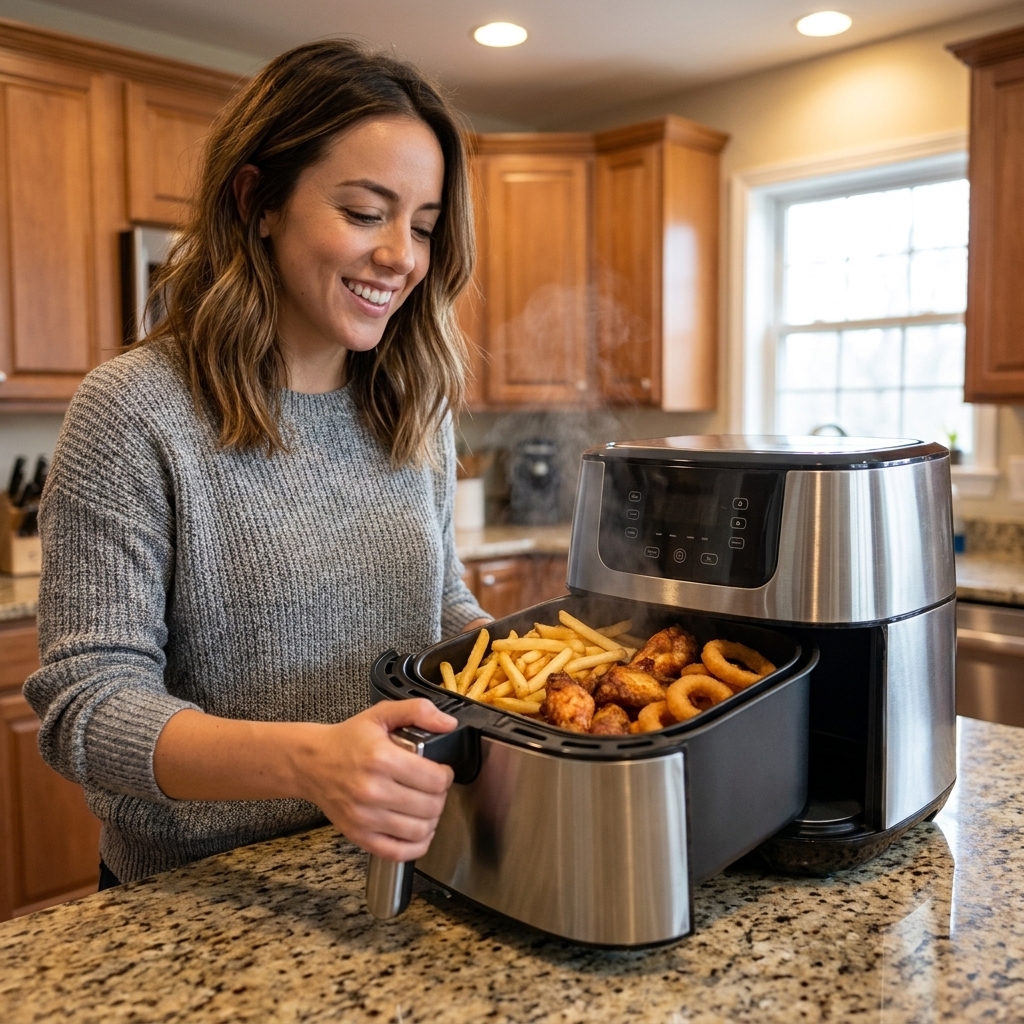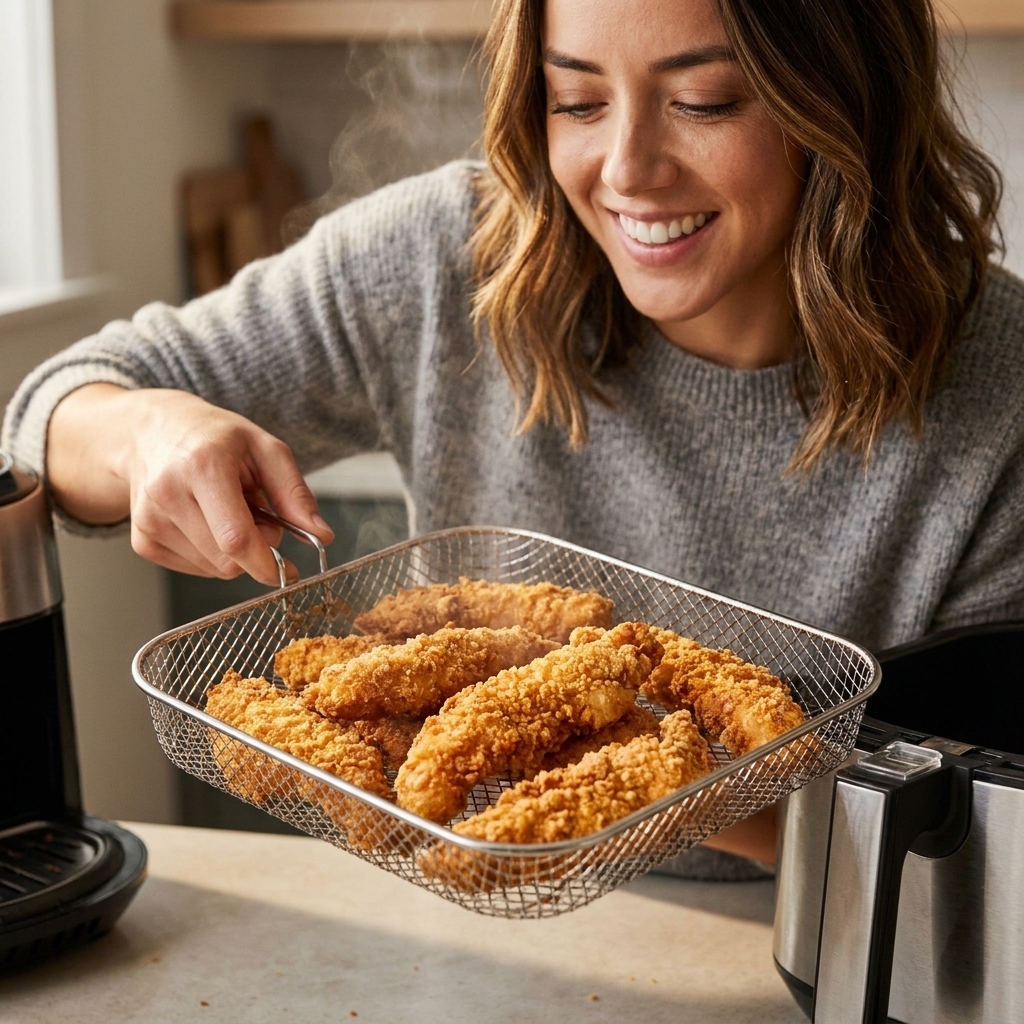
If you have ever pulled out a basket of onion rings and found naked onions on one side and a sad pile of breadcrumbs on the other, you are not alone. High-convection air fryers are amazing at crisping, but that powerful fan can also peel breading right off if the coating is not anchored correctly.
This is my tested, weeknight-friendly method for air fryer onion rings with panko breading that actually sticks. It is the same approach I use when my kids are hovering in the kitchen asking when the crunchy stuff will be ready.
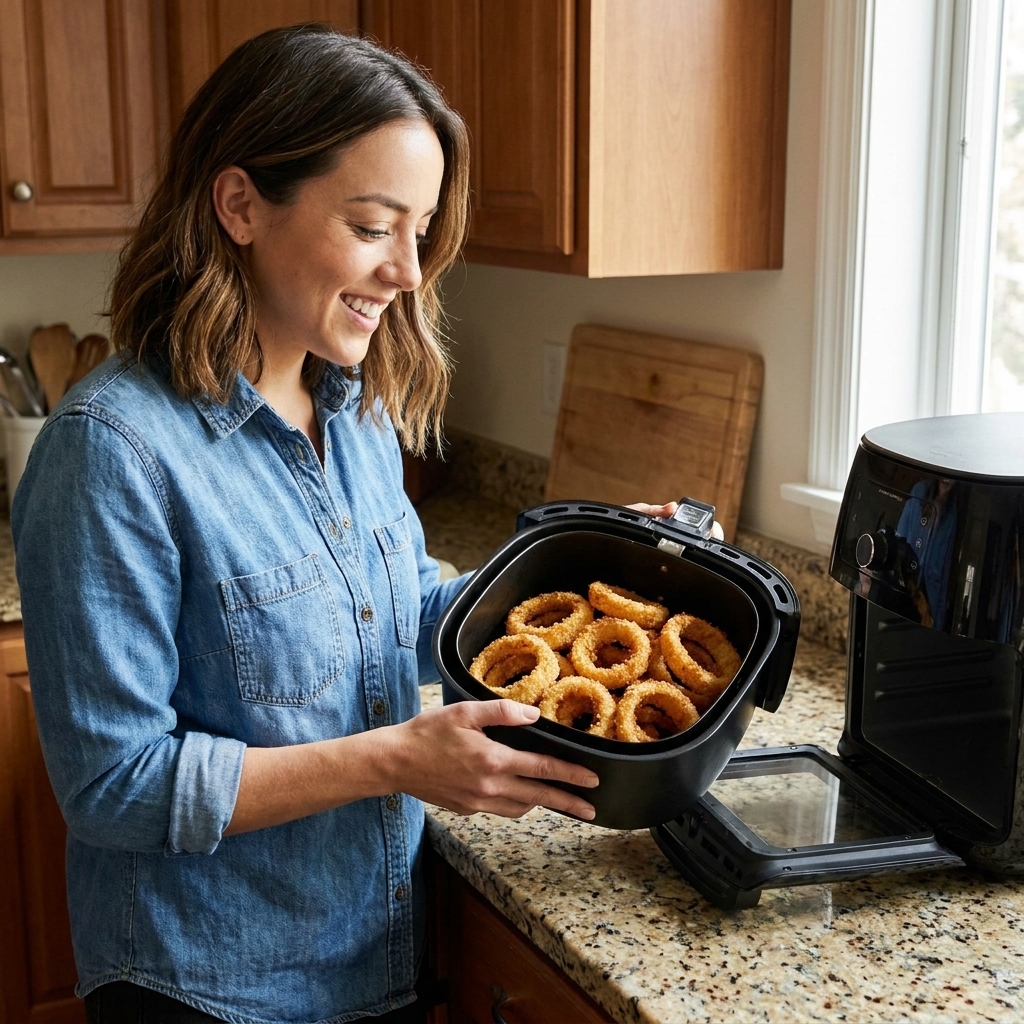
Why breading falls off
In a deep fryer, hot oil sets the coating fast. In an air fryer, the fan starts blasting before the breading has a chance to grip and firm up. Most breading issues come down to one of these:
- Wet onion surface (onions naturally release moisture)
- Skipping an anchor layer (flour helps a lot)
- Too much oil too early (liquid + fan = breadcrumb confetti)
- Overcrowding (rings bump and scrape each other)
- Not giving the coating time to hydrate (a short rest fixes this)
My stickiest panko method
Think of this as a 3-part system: dry anchor, sticky middle, crunchy shell.
1) Dry your onions
Slice, separate into rings, then pat them thoroughly with paper towels. If you see onion juice on the board, pat again. Moisture is the enemy of adhesion.
2) Flour first (highly recommended)
Flour gives the egg something to grab. Without it, egg can slide right off the onion’s slick surface, and then the panko slides off the egg. (Yes, it is that rude.)
3) Egg wash, plus a little mayo (optional insurance)
This is my favorite trick for air fryer breading. A little mayo makes the egg wash slightly thicker and tackier, which helps panko cling and set before the fan tries to steal it. It is not mandatory, but it has saved a lot of my batches.
4) Press panko on, then rest
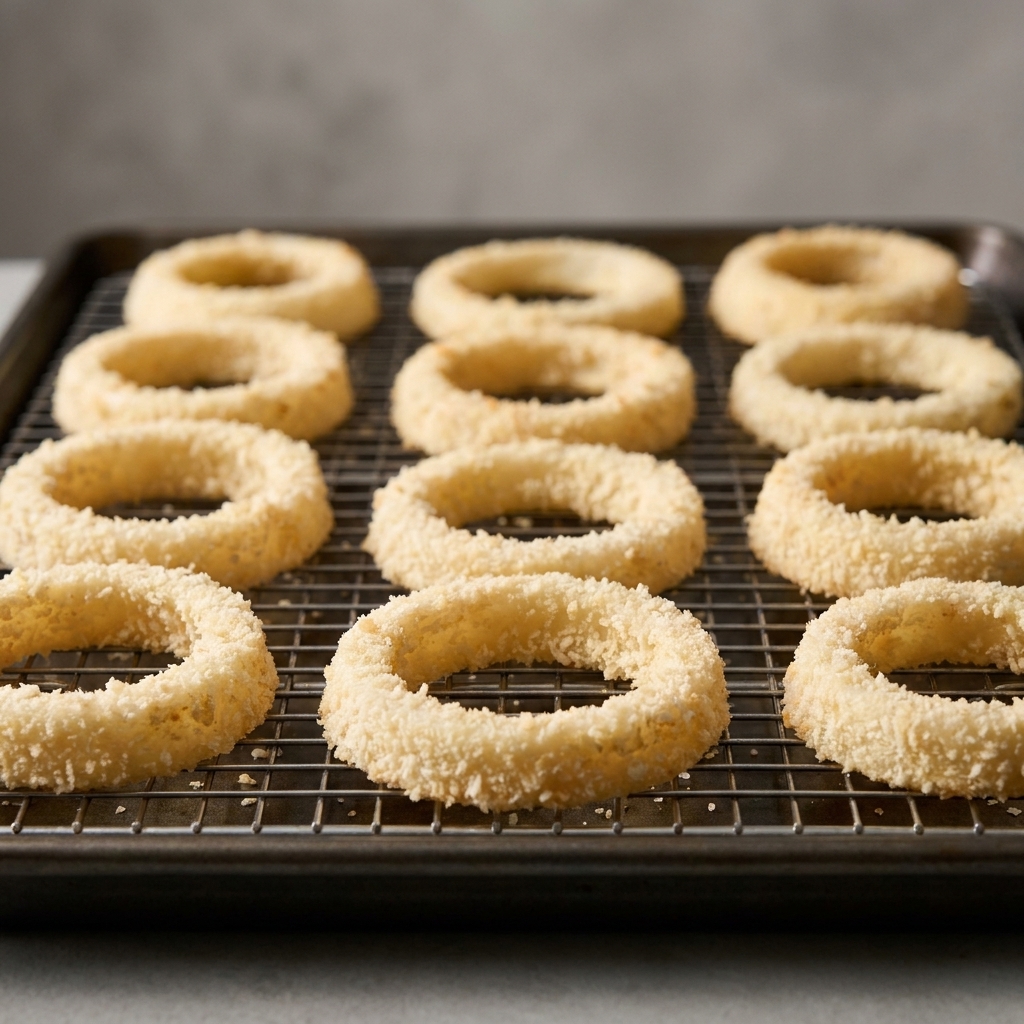
Press the crumbs into every ring, then set the breaded rings on a rack or sheet pan for 8 to 10 minutes. This quick rest hydrates the coating and helps it bond. If you have time, a 15-minute chill in the fridge is even better.
5) Spray smart
Spray after the rings are arranged in the basket. Use a quick, even mist, about 1 to 2 seconds total per basket load, depending on your sprayer. The goal is to help browning, not to soak the crumbs. If you avoid aerosol sprays on nonstick coatings, use an oil mister instead.
Air Fryer Onion Rings Recipe
Makes: about 4 servings
Time: 10 minutes prep, 10 to 14 minutes cook
Ingredients
- 2 large yellow onions
- 1/2 cup all-purpose flour
- 1 1/2 teaspoons kosher salt, divided
- 1/2 teaspoon black pepper
- 1 teaspoon paprika (optional but tasty)
- 2 large eggs
- 1 tablespoon mayonnaise (optional, for extra cling)
- 2 tablespoons milk (or water)
- 2 cups panko breadcrumbs
- 1/4 cup finely grated Parmesan (optional for extra crunch and flavor)
- Avocado oil spray or another high-heat cooking spray (or an oil mister)
Best onions
Yellow onions are my go-to for classic diner vibes and they hold up well. Sweet onions are delicious too, but they are juicier, so pat them extra dry and do not skip the resting step.
Instructions
Slice and separate. Peel onions and slice into 1/2-inch rings. Separate into rings. Save tiny centers for omelets or fajitas.
Dry the rings. Lay onion rings on paper towels and pat very dry. If they seem especially wet, pat twice.
Set up three bowls.
Bowl 1 (flour): flour + 1 teaspoon salt + pepper + paprika.
Bowl 2 (egg): eggs + mayo + milk whisked until smooth.
Bowl 3 (crumbs): panko + Parmesan (if using) + remaining 1/2 teaspoon salt.Bread the rings. Working one ring at a time: flour, shake off excess, dip in egg wash, then press firmly into panko on both sides and edges. Set on a rack.
Rest the breading. Let rings sit 8 to 10 minutes at room temp. If you can, refrigerate 15 minutes for extra insurance.
Preheat the air fryer. Preheat to 380°F for 3 to 5 minutes.
Arrange and spray. Place onion rings in a single layer with space between them. In a typical 5 to 6 quart basket, that is usually about 5 to 7 rings depending on size. Lightly mist the tops with oil.
Air fry. Cook at 380°F for 10 to 14 minutes, flipping at the halfway point. After flipping, mist lightly again if you see any dry floury spots.
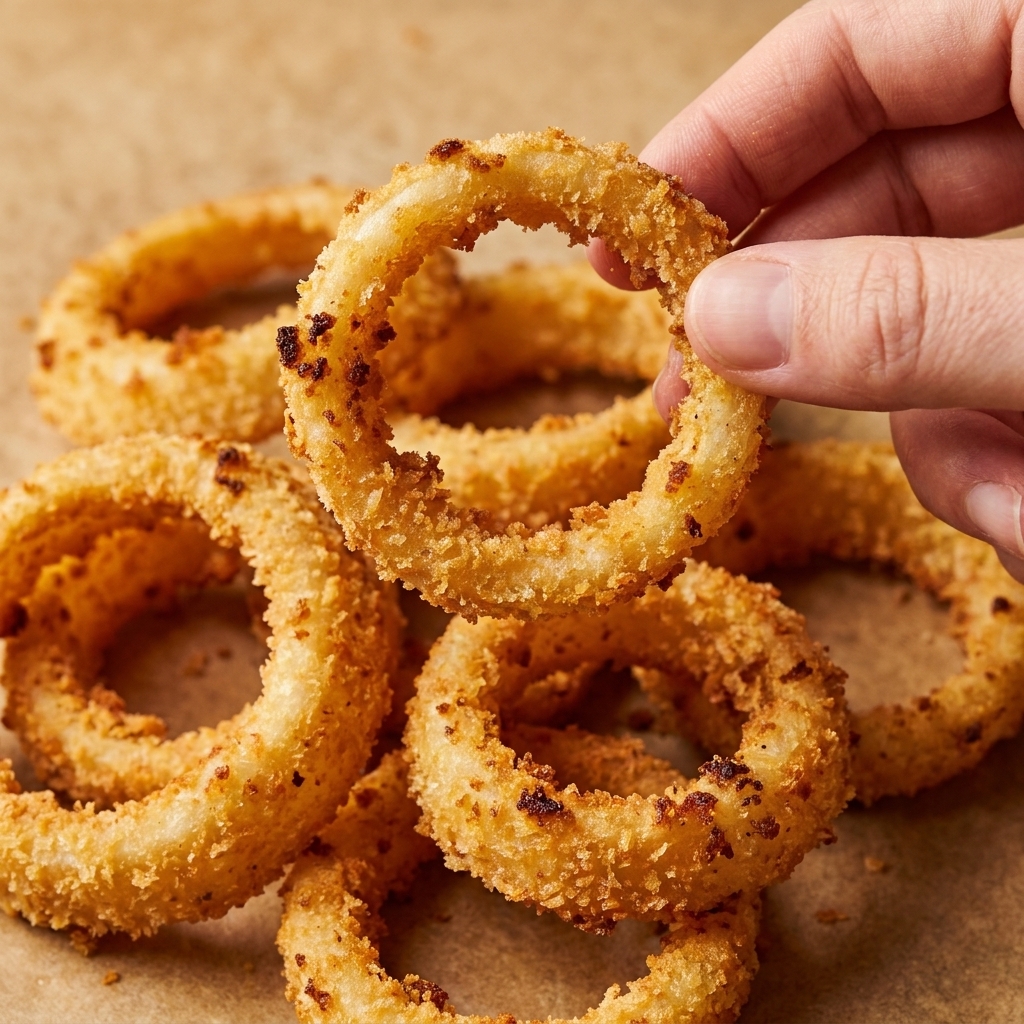
Doneness cue: You want deep golden crumbs and an onion that is tender when pierced, not crunchy-raw or collapsed.
Serve right away. Onion rings are at their crunchiest in the first 10 minutes. (I know. They never last longer than that anyway.)
Cook time by air fryer
Every model runs a little different. Here is what I see most often in recipe testing:
- Basket air fryer: 380°F for 10 to 14 minutes total
- Oven-style air fryer: 380°F for 12 to 16 minutes total, rotate trays halfway
- Very powerful compact models: check at 9 minutes, they brown fast
If you are cooking multiple batches, later batches can cook a little faster because the machine is already hot. Start checking 1 minute early.
Anti blow-off checklist
- Pat onions dry before flouring
- Season the flour so the rings taste good without extra wet sauces
- Shake off excess flour so the coating does not clump and slide
- Whisk egg wash smooth so there are no slippery streaks
- Press panko on firmly, especially around the edges
- Rest 8 to 10 minutes before air frying
- Single layer only, space between rings
- Light mist, do not drench
- Flip with tongs, gently, do not scrape
My favorite dips
- Classic fry sauce: mayo + ketchup + pickle juice
- Spicy ranch: ranch + hot sauce + smoked paprika
- BBQ aioli: mayo + BBQ sauce + a squeeze of lemon
- Honey mustard: Dijon + honey + a splash of apple cider vinegar
Make-ahead and leftovers
Can I bread them ahead?
Yes. Bread them, then refrigerate on a rack set over a sheet pan up to 8 hours. If your fridge is busy, cover loosely to reduce cross-contamination. For the crispest coating, you can leave them uncovered for 15 to 20 minutes first to let the surface dry a bit, then cover loosely.
How to store leftovers
Store cooled onion rings in an airtight container in the fridge. They are best within 1 to 2 days, but will keep up to 3 days for food safety.
Best way to reheat
Air fry at 350°F for 3 to 5 minutes until hot and crisp. Skip the microwave unless you enjoy sadness.
Troubleshooting
The breading still fell off
- Onions were too wet: pat drier, and rest the breaded rings longer.
- Too little anchor layer: make sure the onion is fully coated in flour before egg.
- Too much spray: do a light mist, not a glossy coat.
- Overcrowded basket: cook in batches. It is annoying, but it works.
They are pale
Panko browns best with a little oil. Lightly mist and make sure you are cooking hot enough. If your air fryer runs cool, bump to 390°F for the last 1 to 2 minutes.
The onion tastes too sharp
Pungency depends on the onion and the crop, and sometimes you just get a strong one. If you want a milder bite, soak the rings in cold water (or buttermilk) for 20 to 30 minutes, then drain and pat very dry before breading. Also, thicker rings may need an extra minute or two so the onion turns tender-sweet.
Quick variations
- Spicy: add 1/2 teaspoon cayenne to the flour
- Extra crispy: swap 1/2 cup of panko for crushed cornflakes
- Gluten-free: use a 1:1 gluten-free flour blend + gluten-free panko
- No egg: use buttermilk mixed with 1 tablespoon mayo as the dip layer, then press into panko and rest a little longer
Chloe tip: If you only take one thing from this onion ring masterclass, let it be the resting step. Eight minutes on the counter has saved more batches for me than any fancy ingredient ever has.